VM Management
This guide outlines the steps to create a virtual machine (VM) using Pextra CloudEnvironment®. It assumes that Pextra CloudEnvironment® is properly installed and managed.
1. Access the Dashboard
- Open your browser and navigate to the Pextra CloudEnvironment® dashboard.
- Log in using your administrator credentials.
2. Deploy an instance
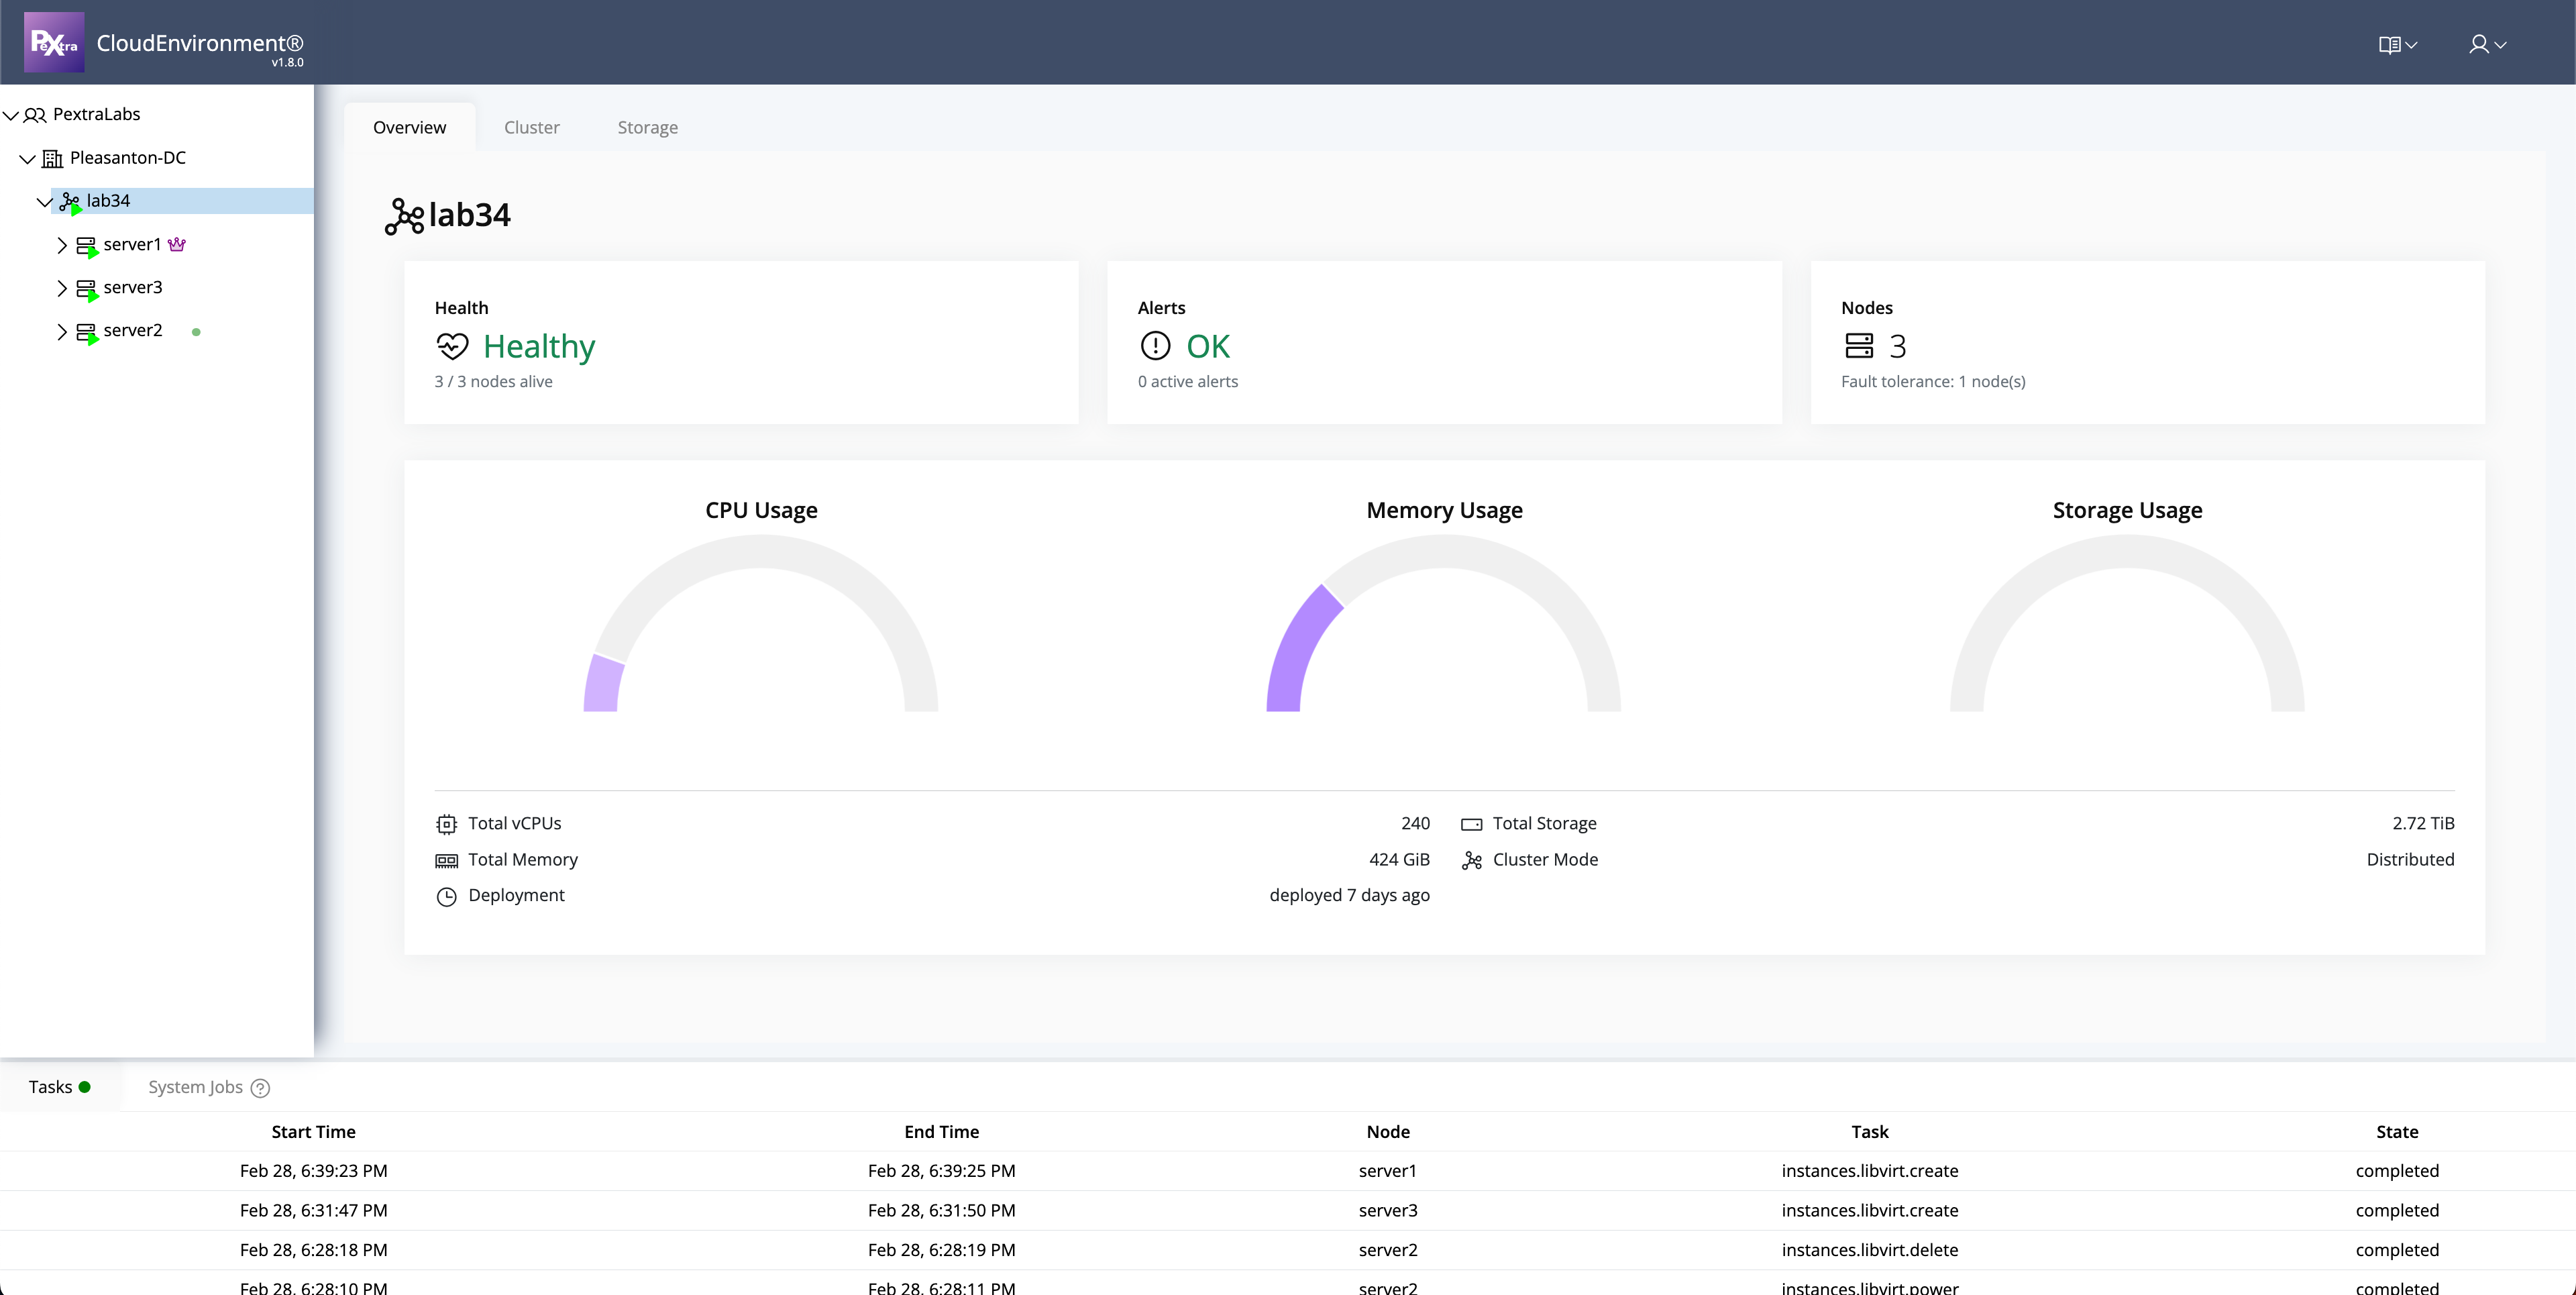
- From the left panel, click on the desired server.
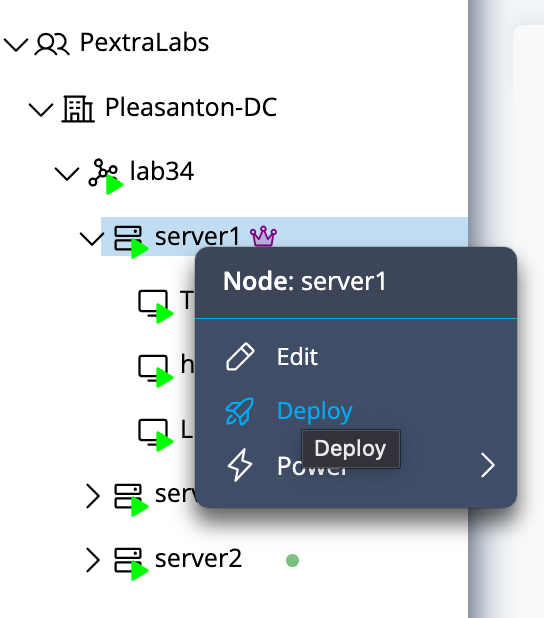
- Right-click on the server icon and select Deploy.
3. Configure Virtual Machine Settings
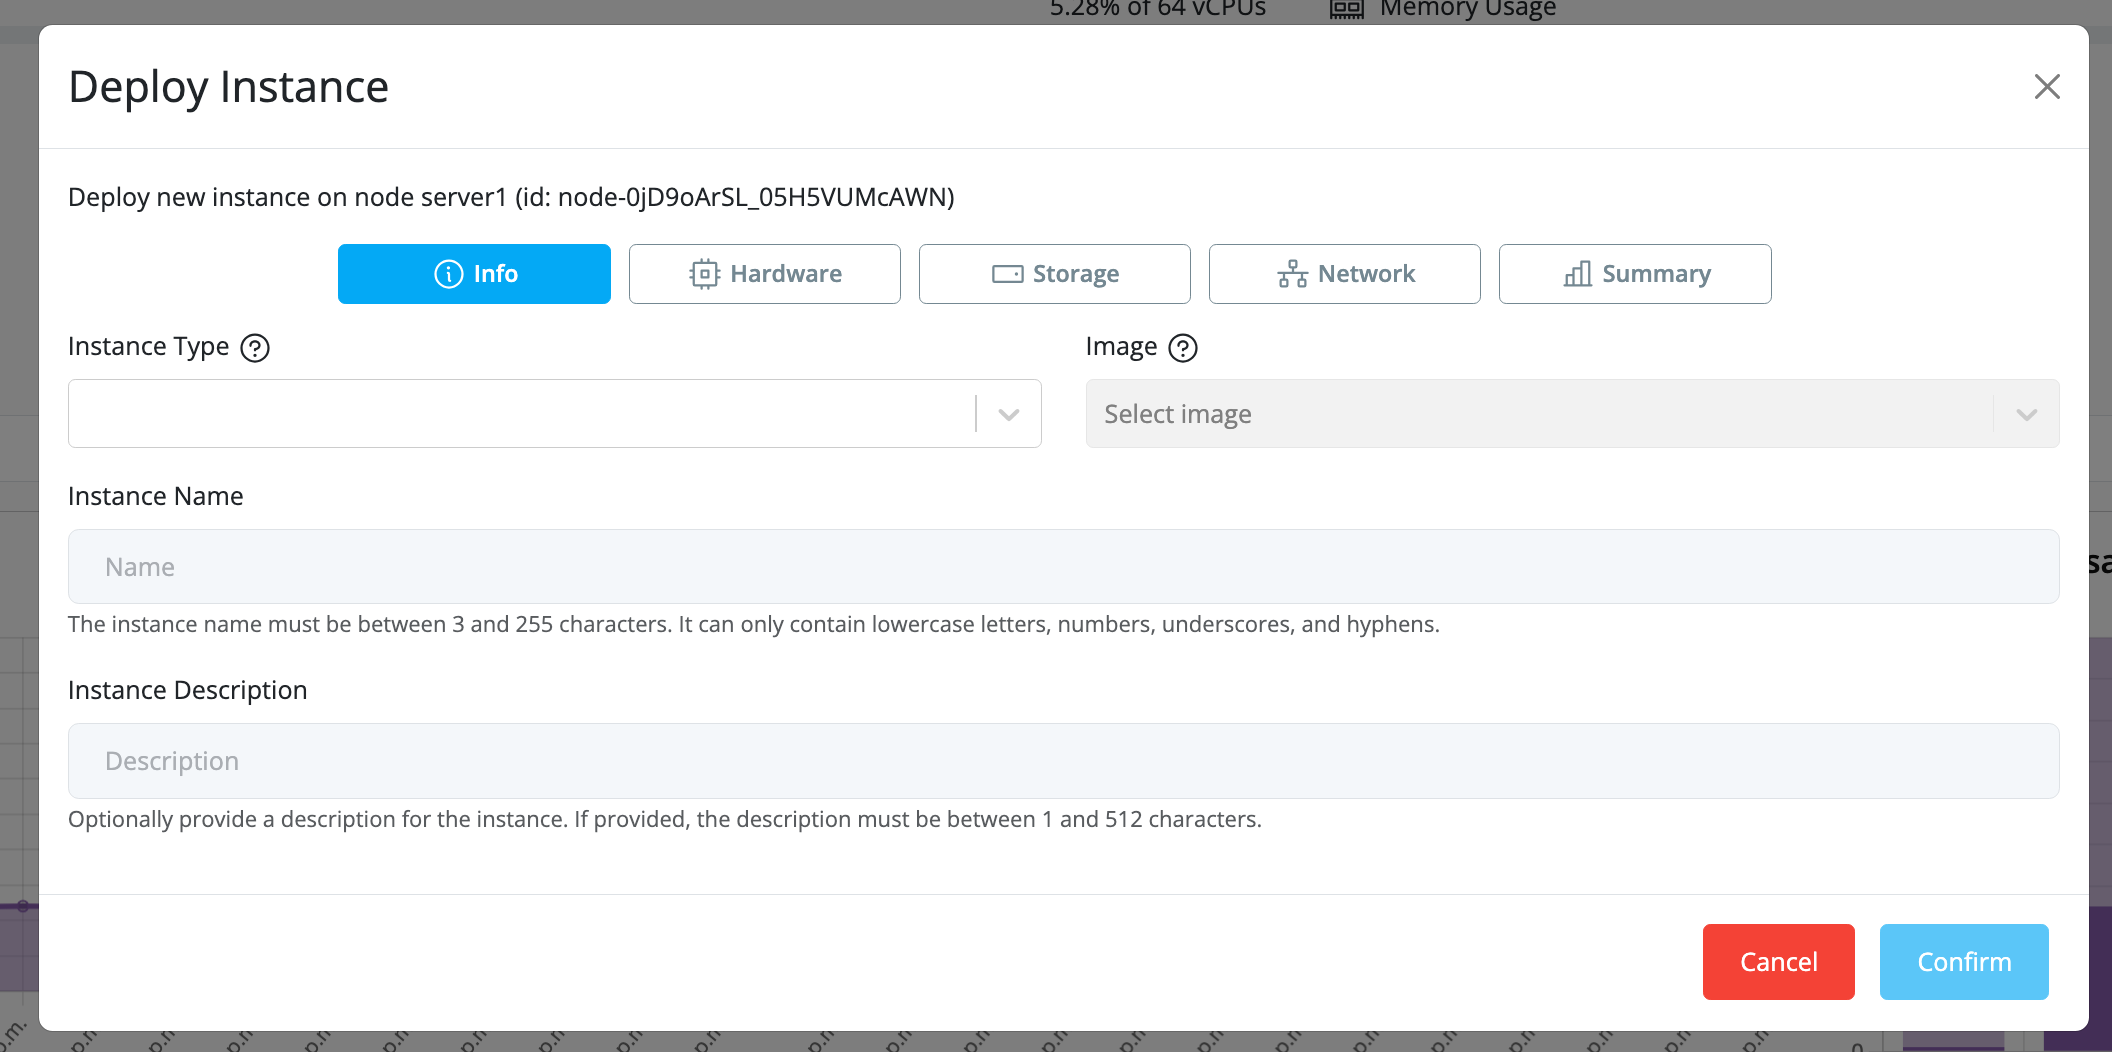
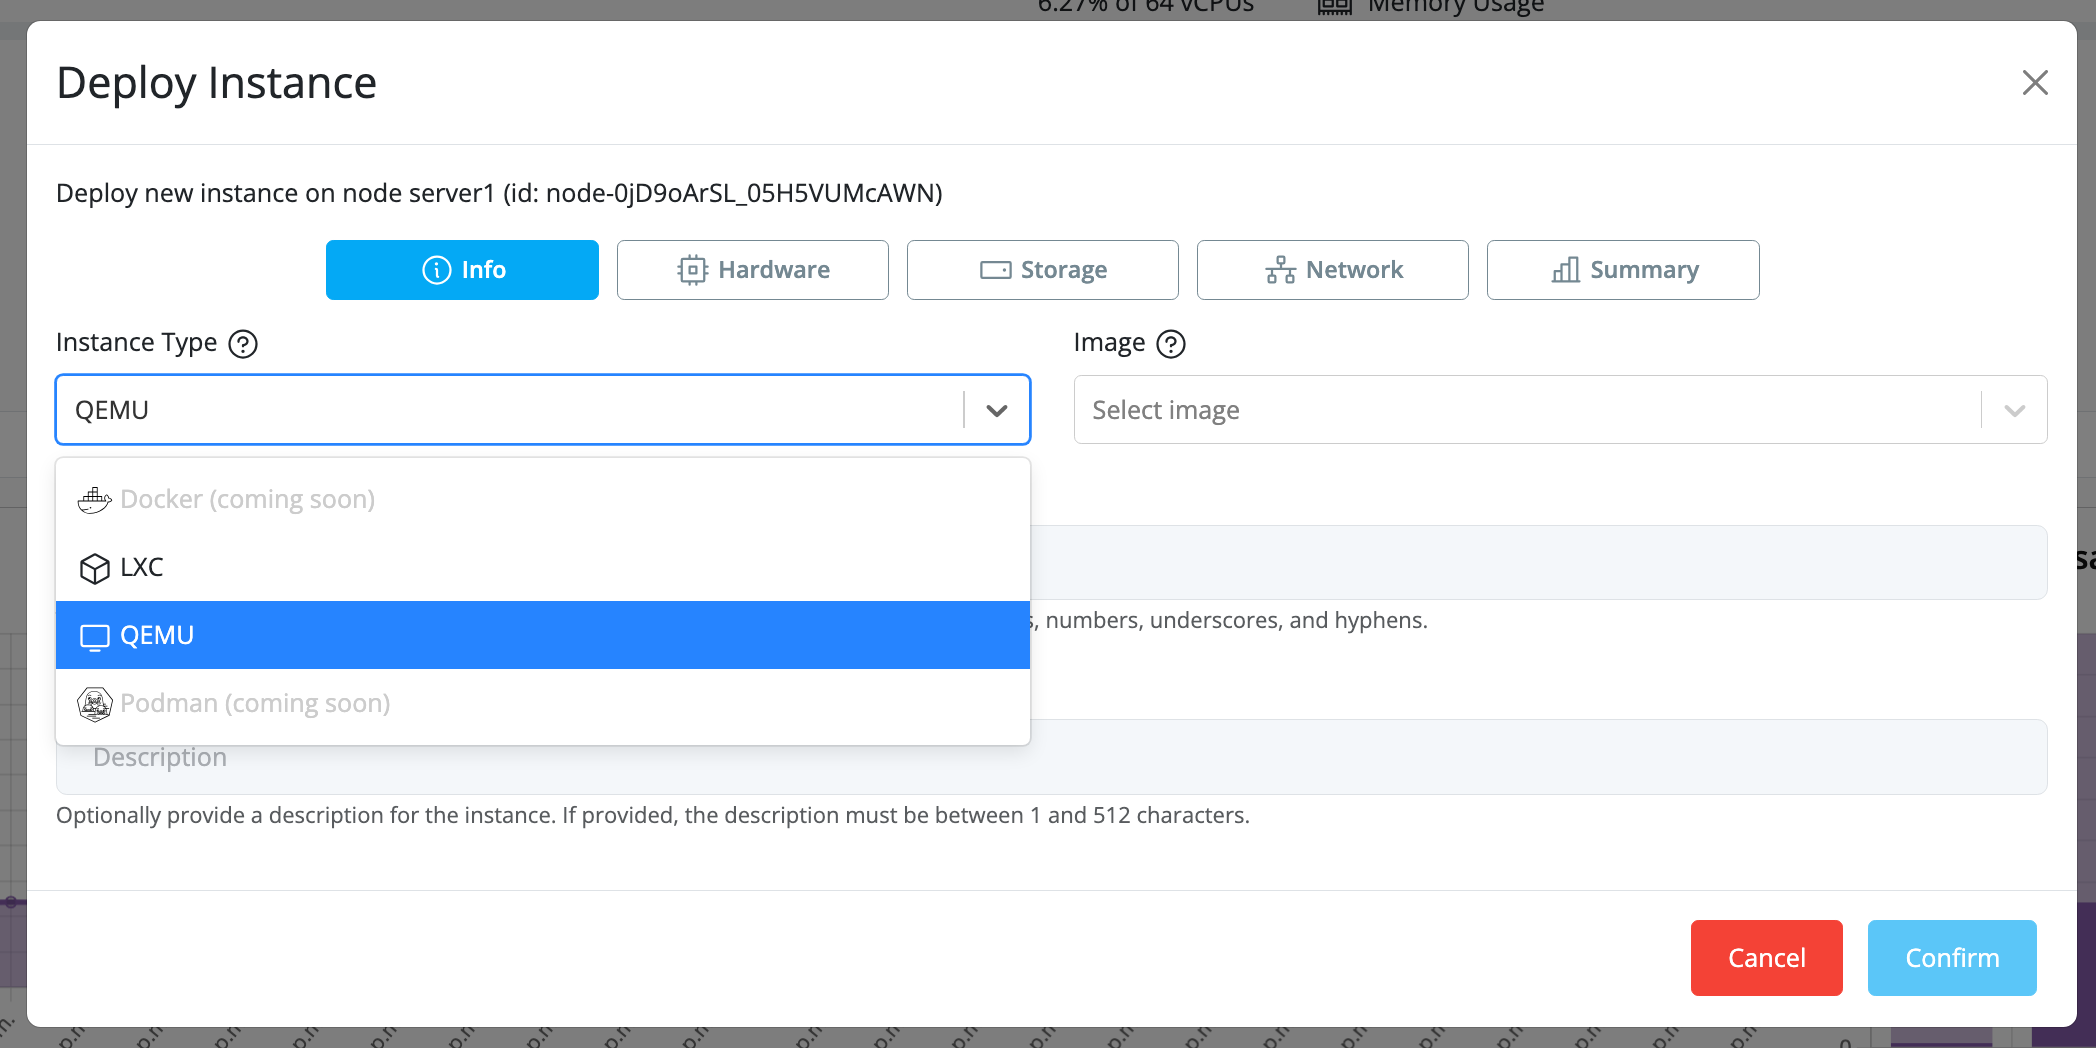
- Instance Type: Select the desired instance type (VM or container).
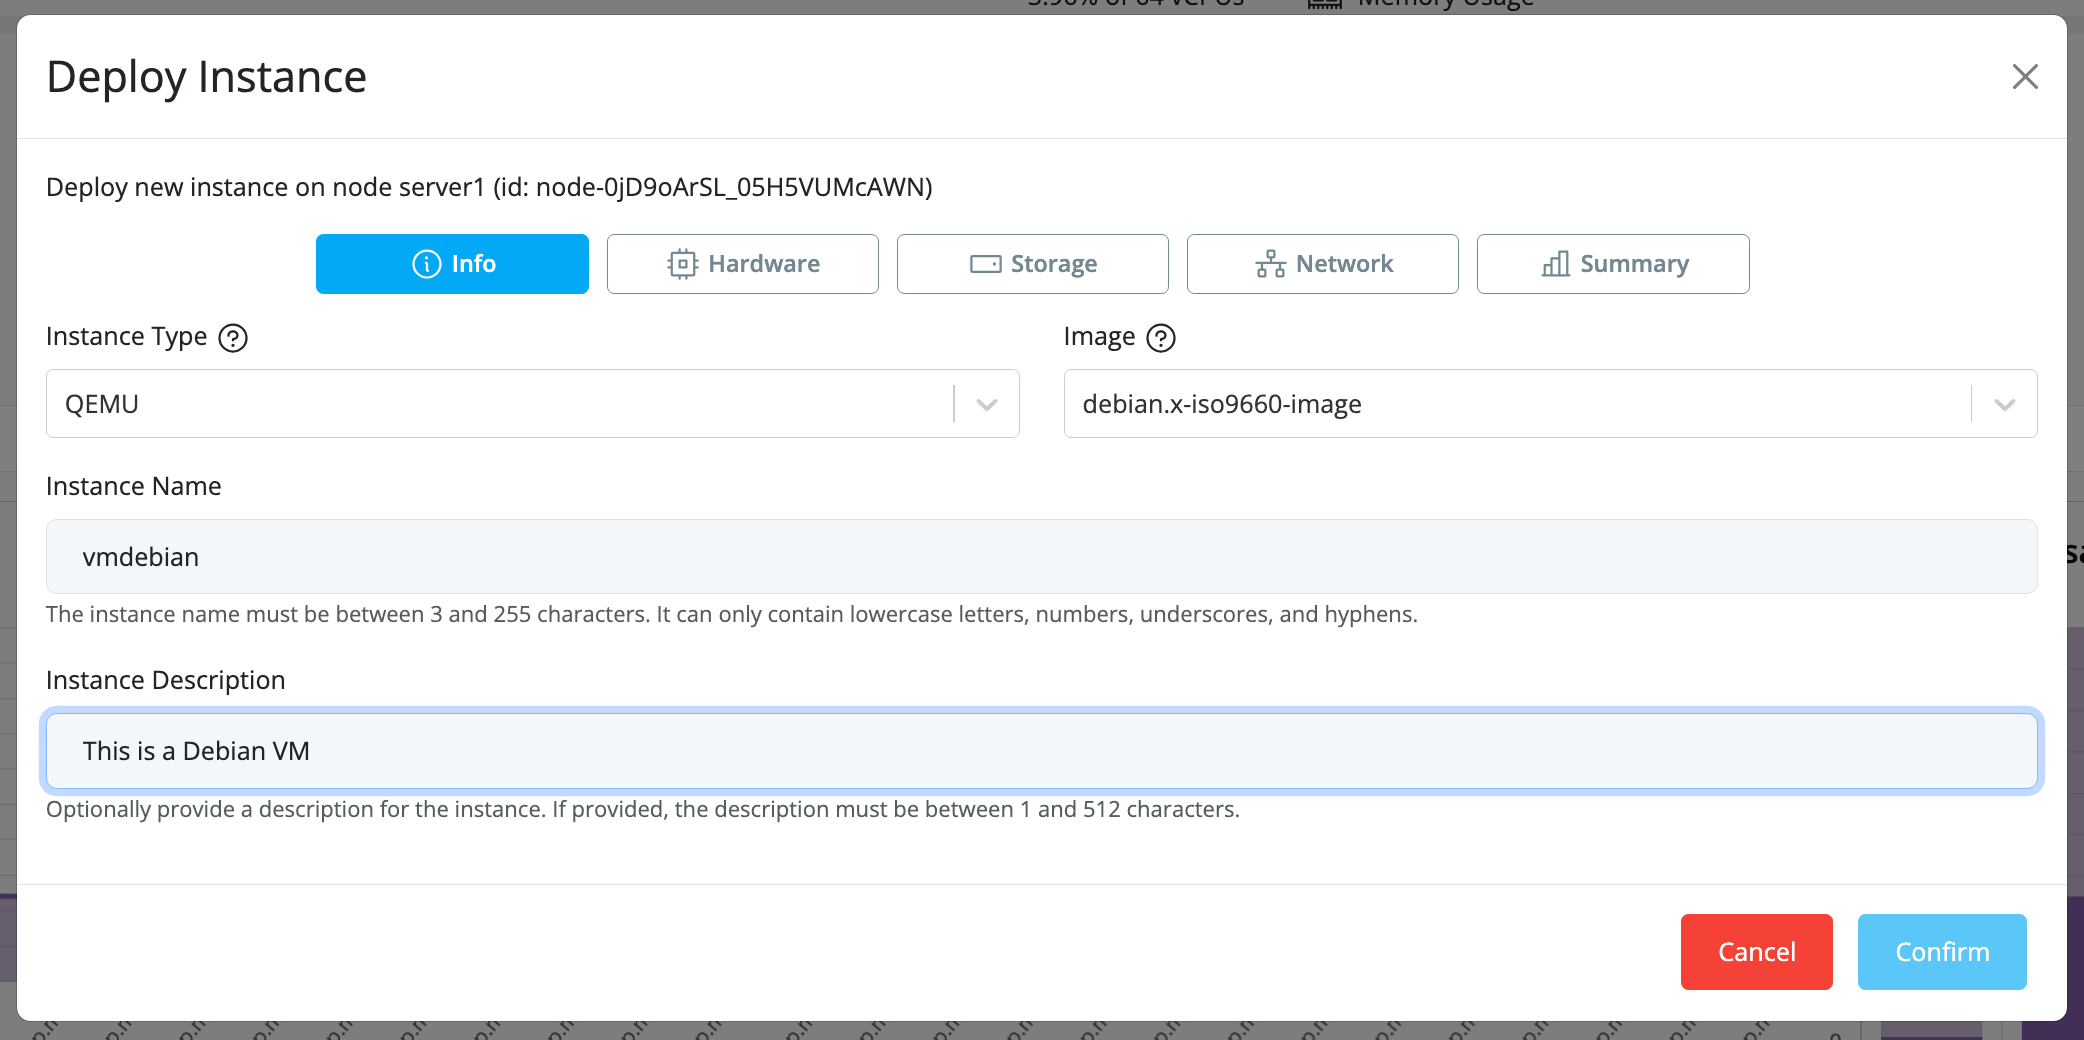
- VM Name: Provide a unique and meaningful name for your virtual machine (note that name uniqueness is not enforced).
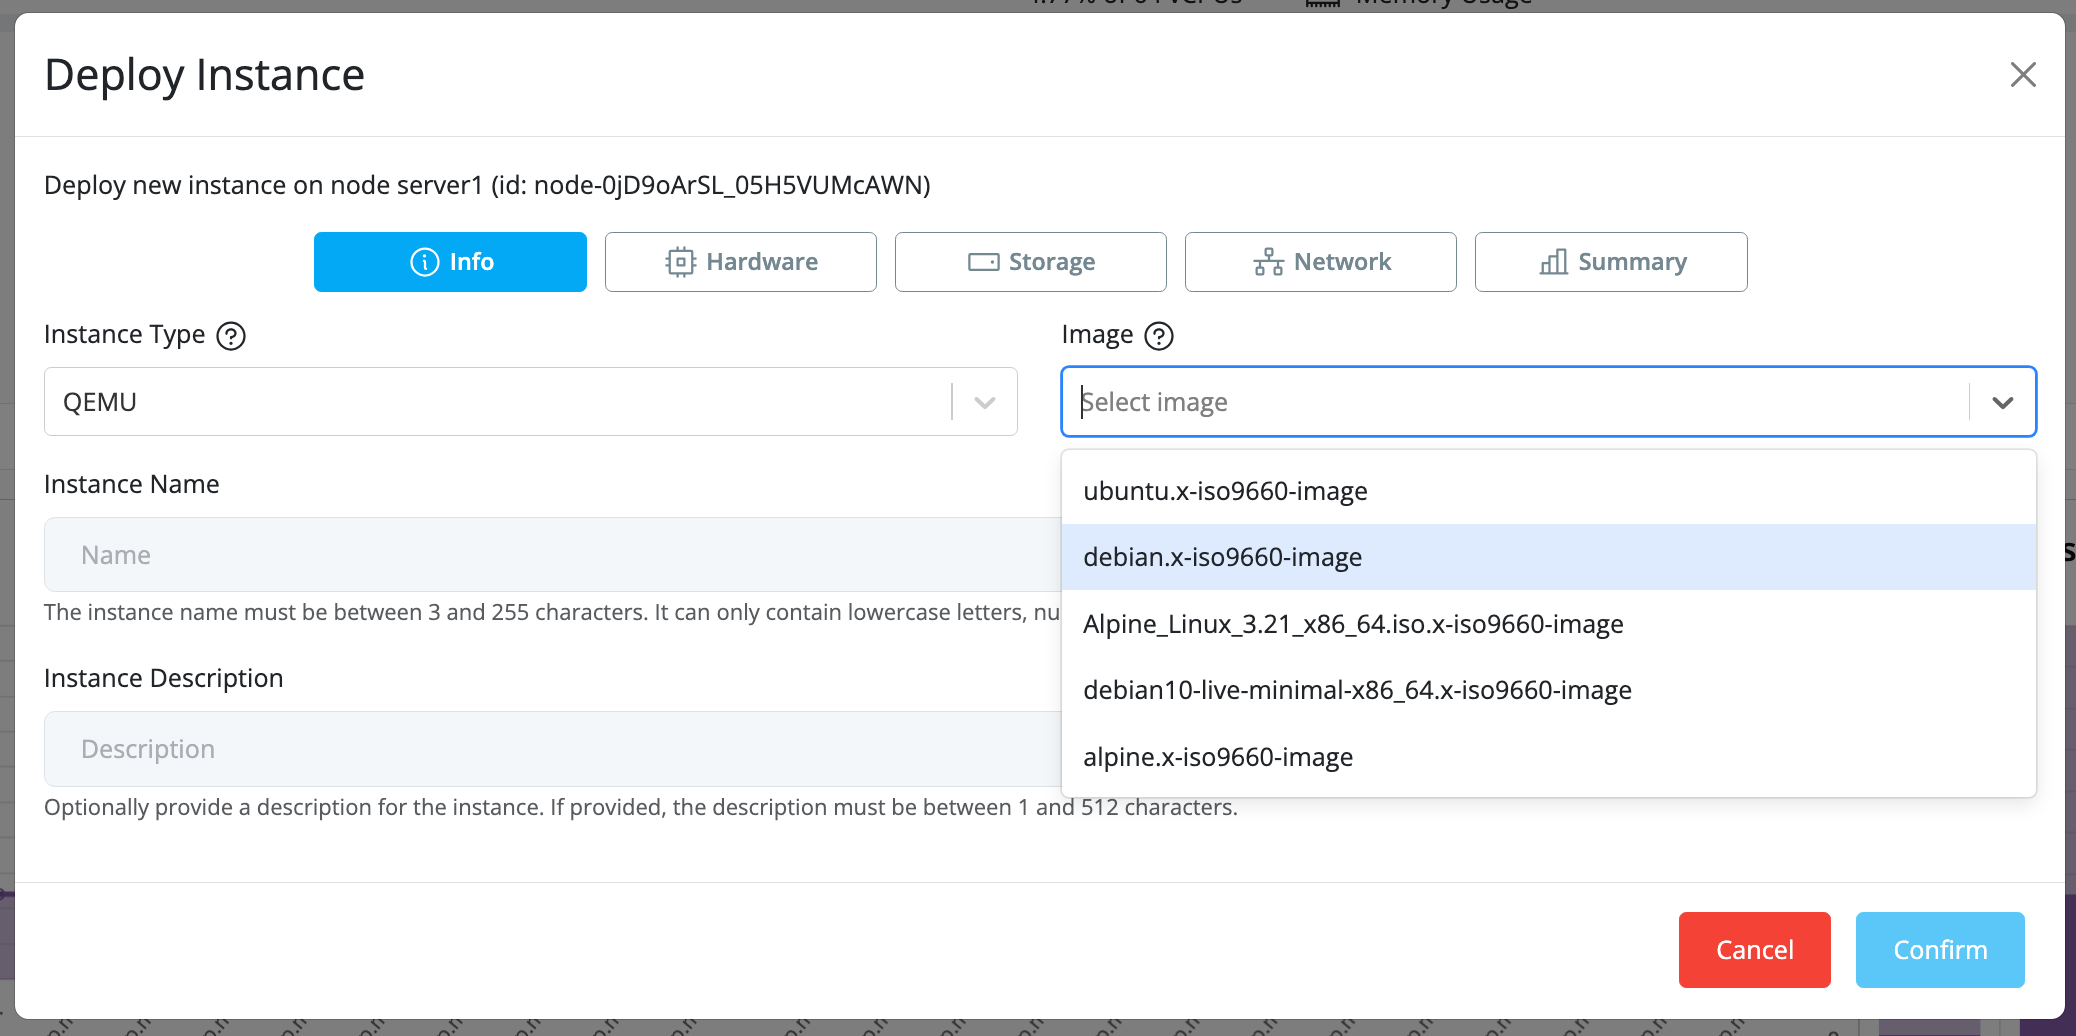
- Image: Select the desired image (ISO) from the available images on the selected server. If a new image is required, you can download it from ImageHub™ (At server level).
- Description: Add a description for the instance.
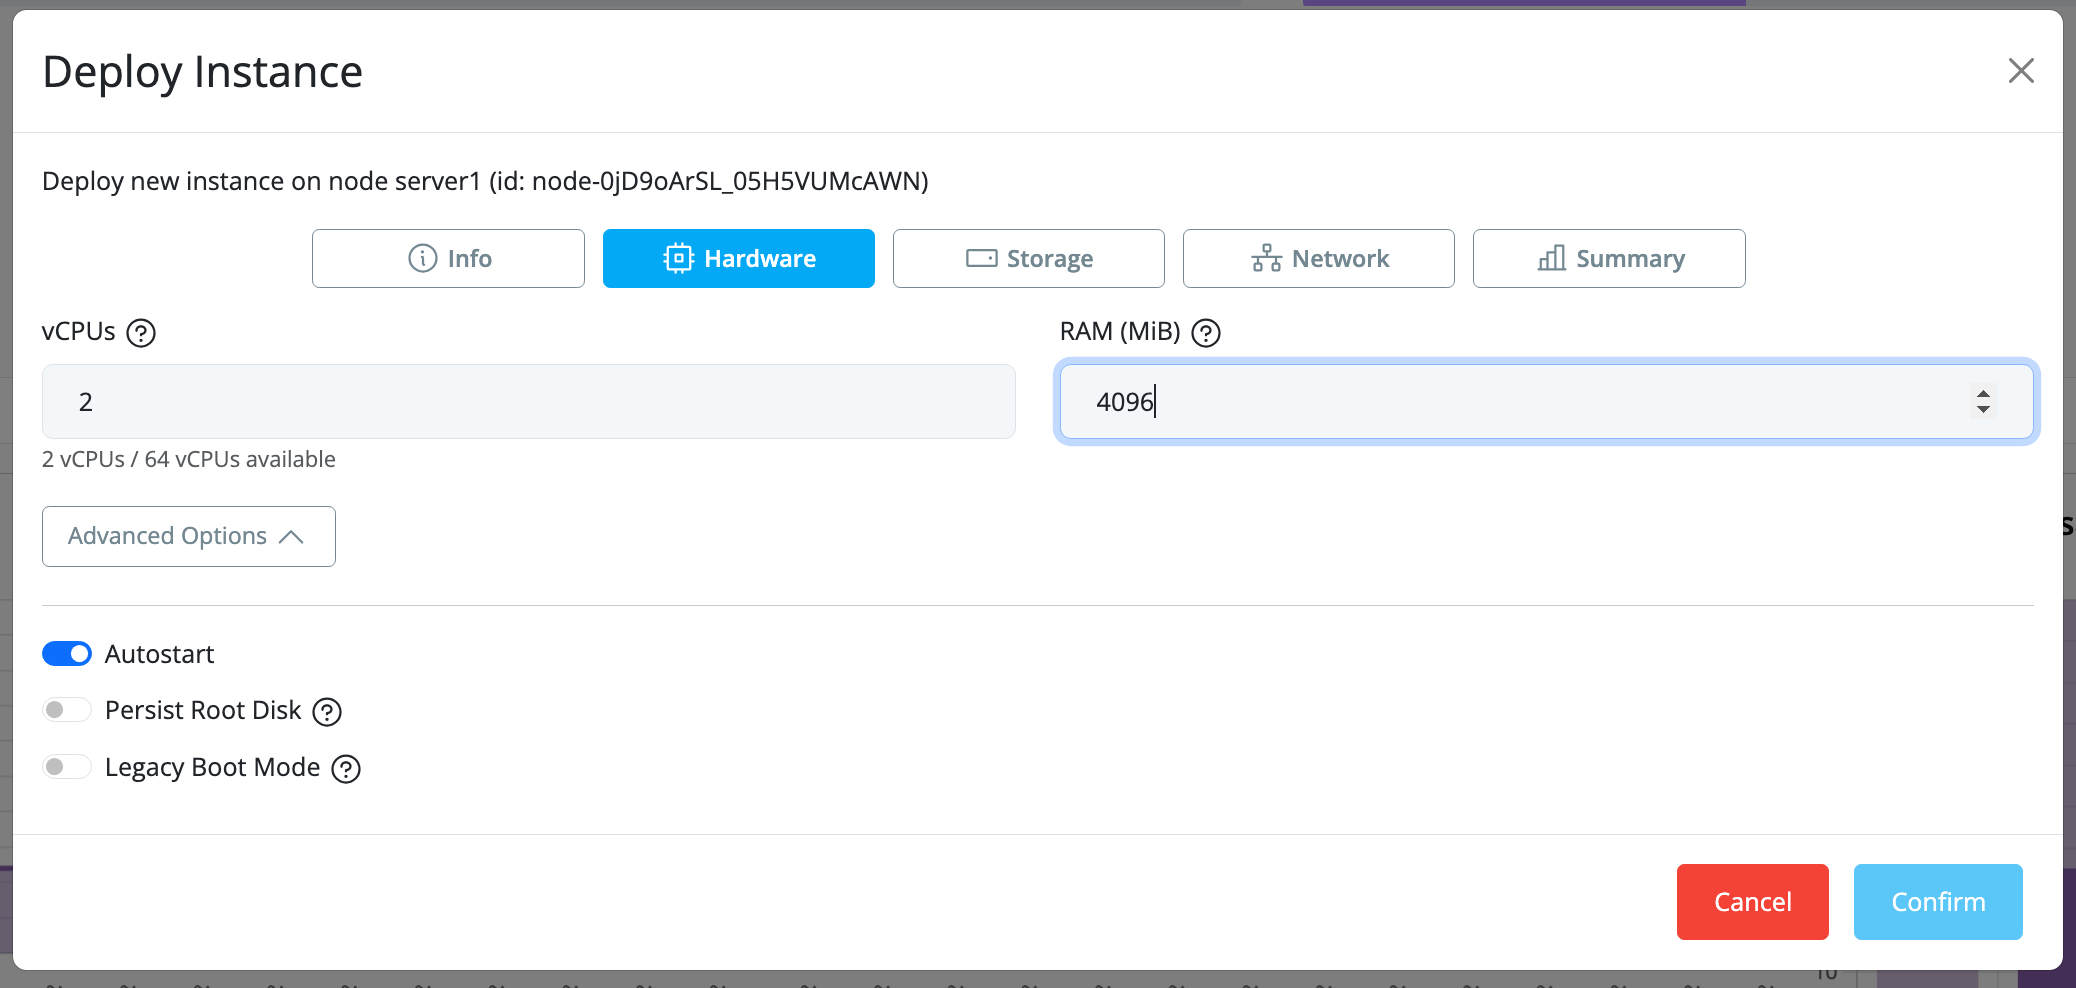
- Hardware: Select the number of desired CPUs and the size of RAM. You can also click on Advanced for further customization of cores. Ensure that Autostart is enabled to allow the VM to start automatically after creation.
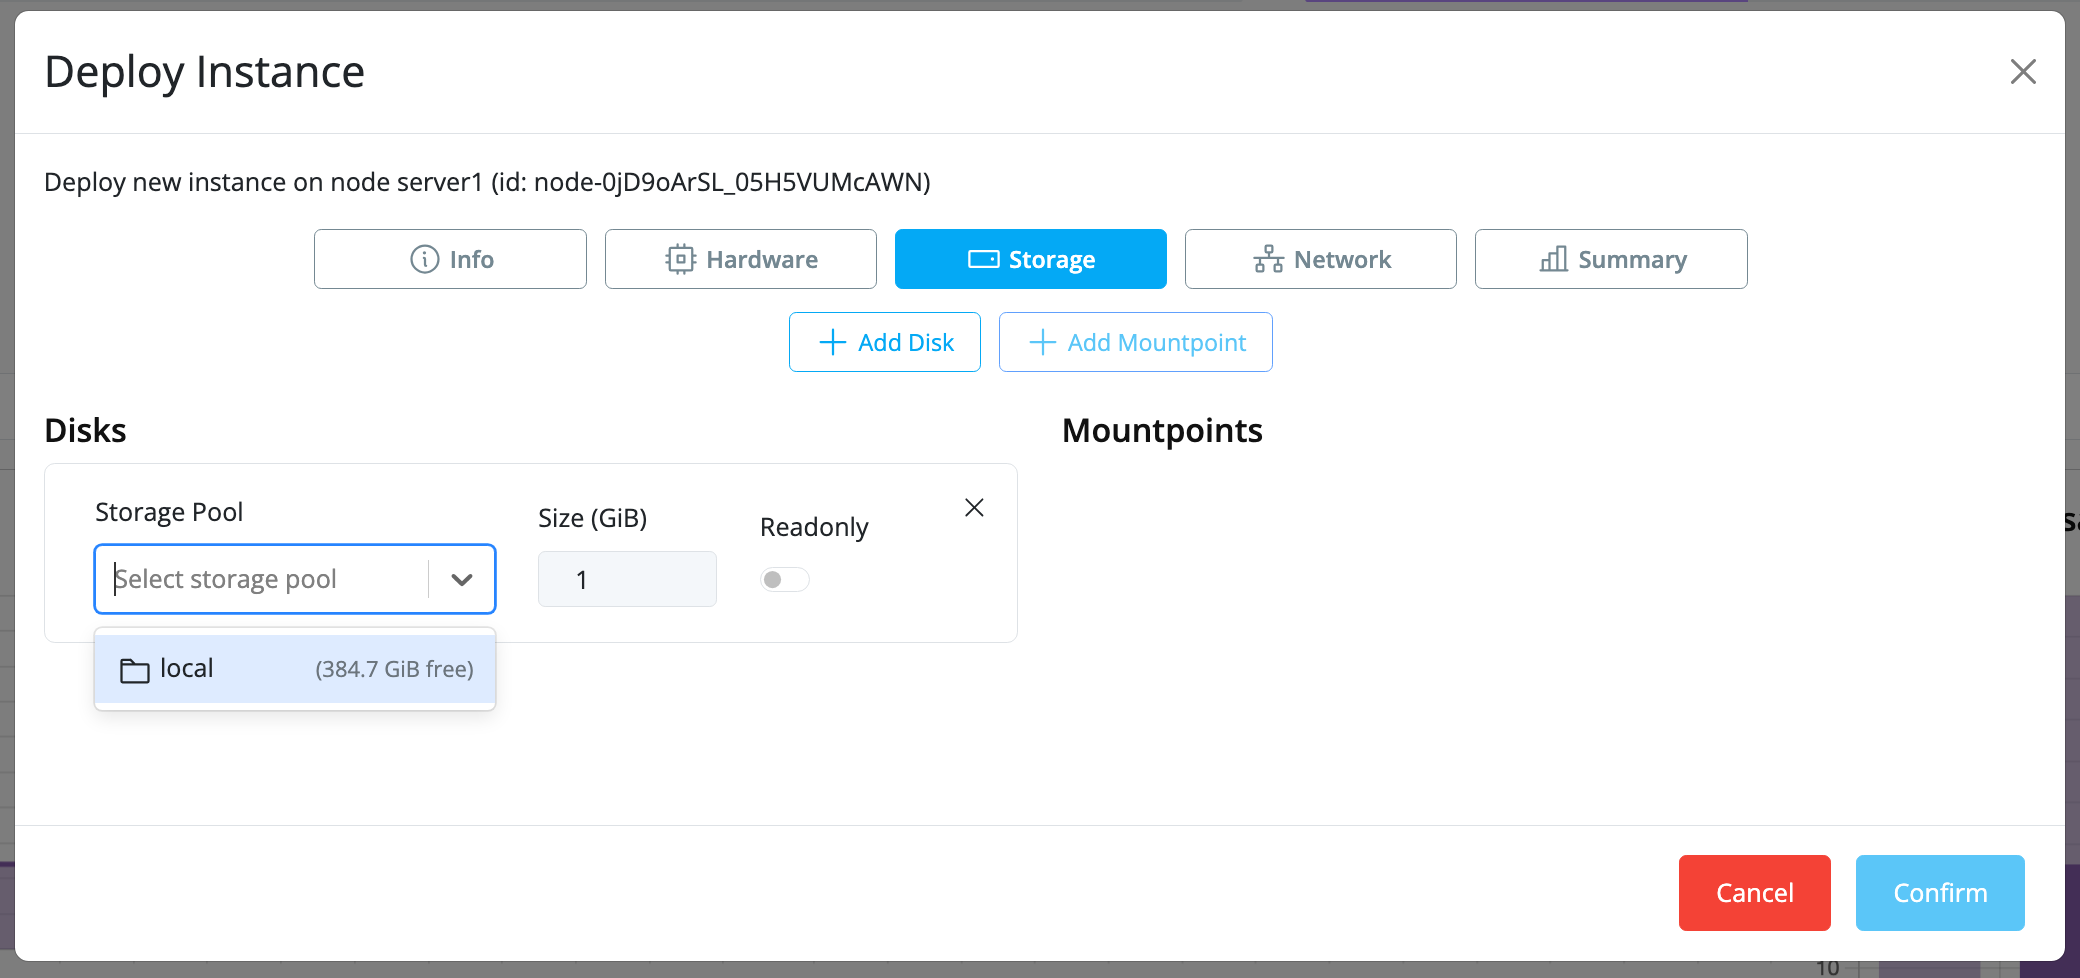
- Storage: Attach a storage disk by selecting a pool (created at the cluster level) and specifying the desired disk size.

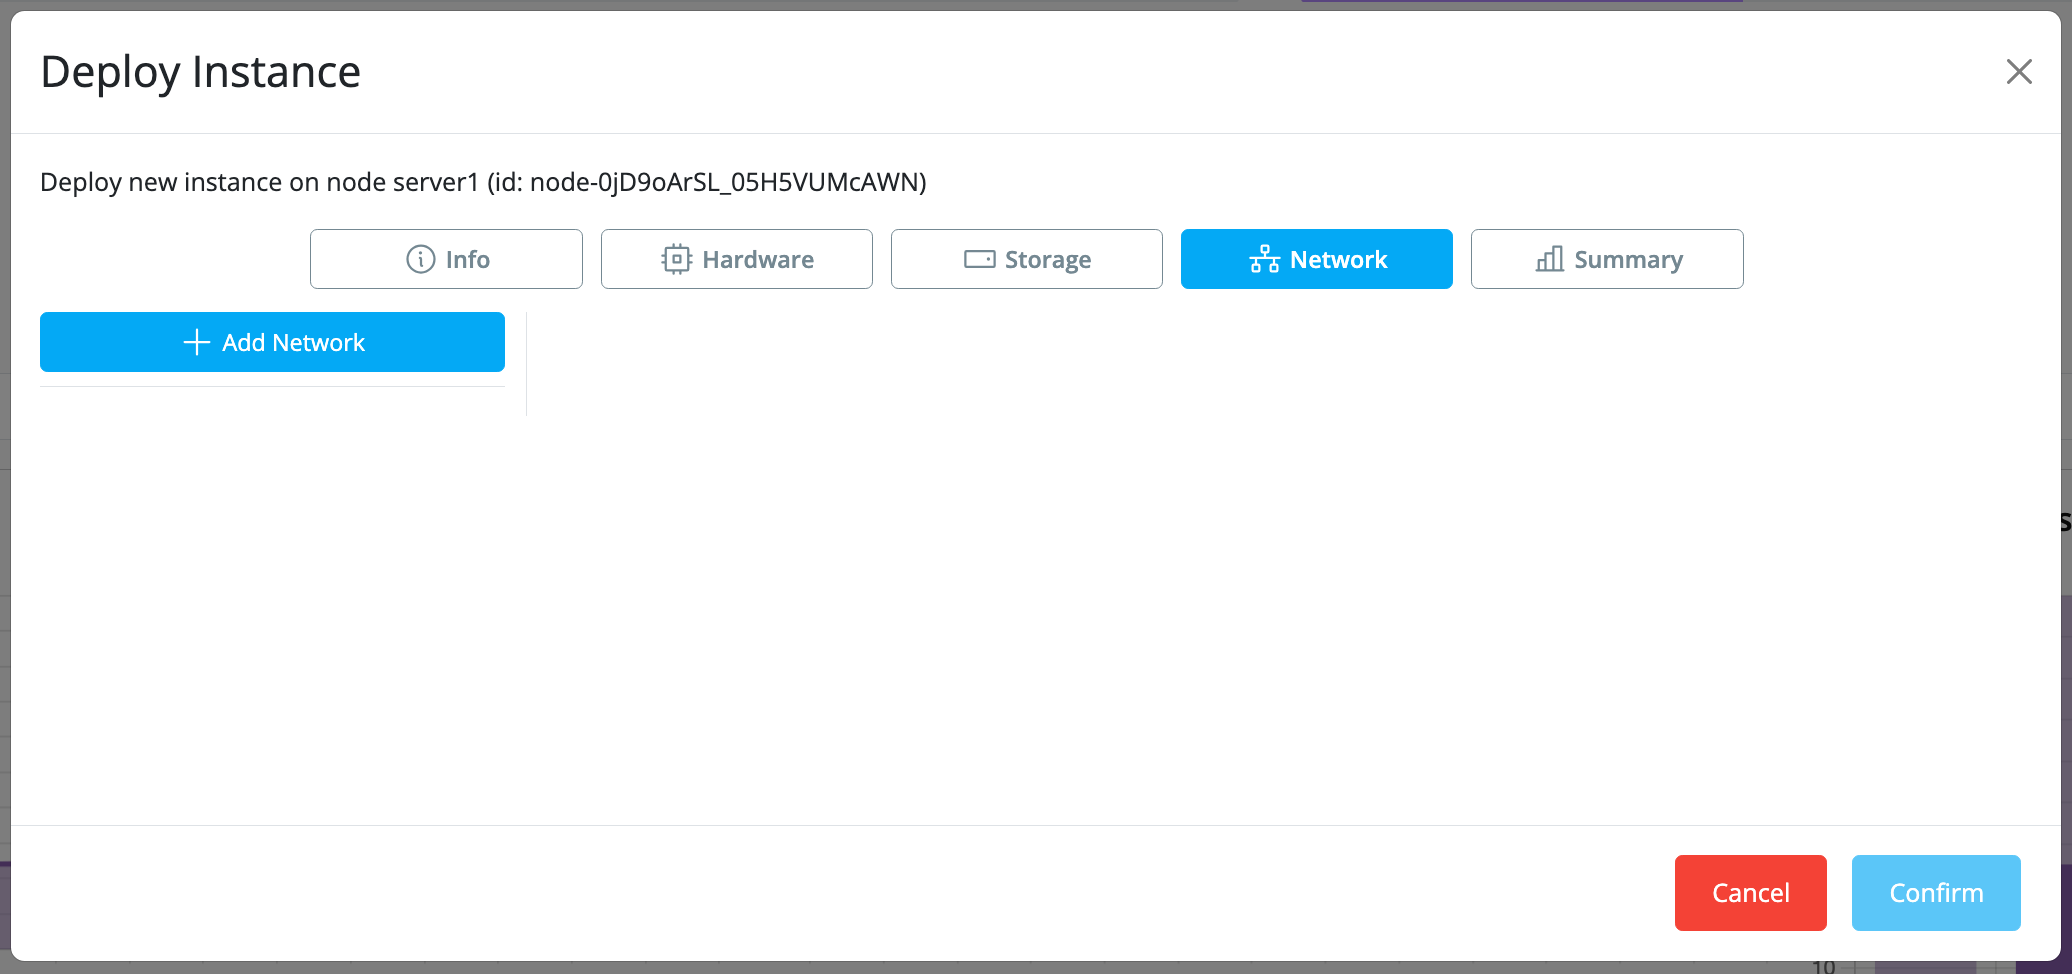
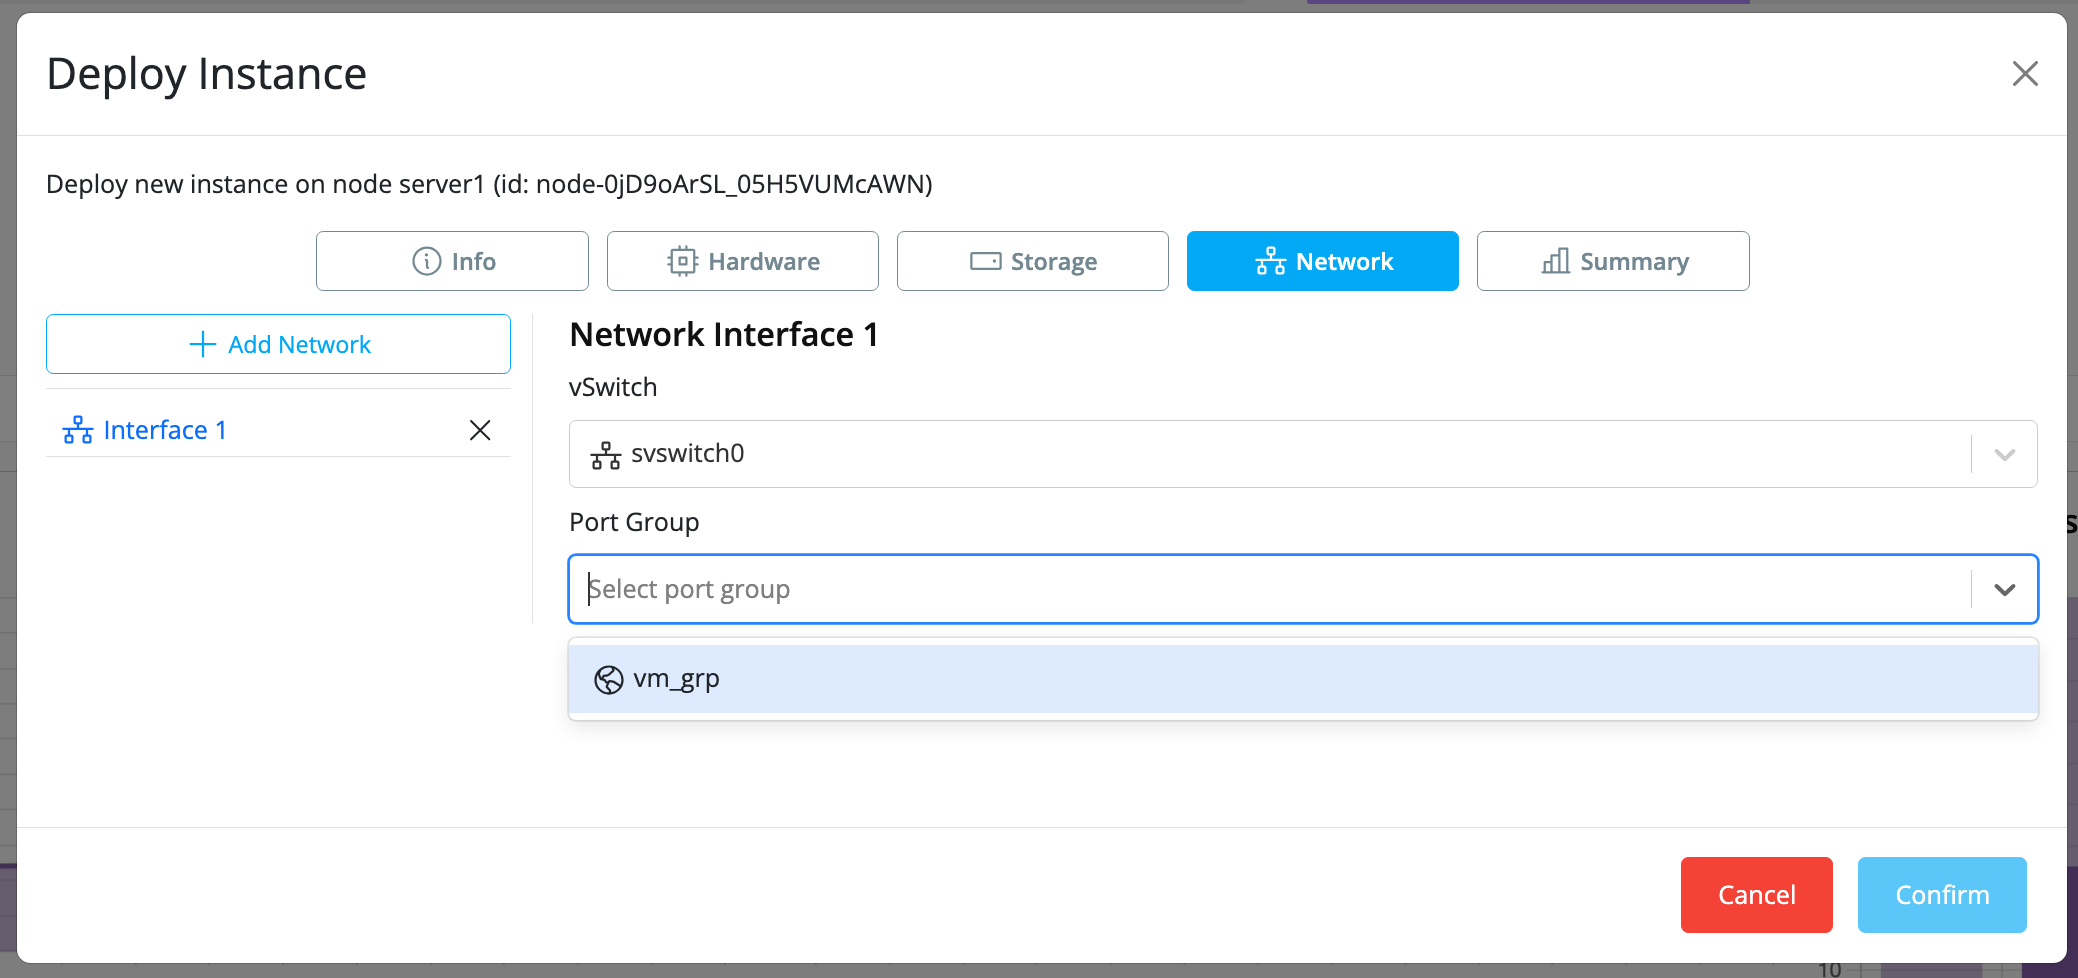
- Networking: Attach a vSwitch to enable networking. Creation and management of the vSwitch are done at the node (server) level.
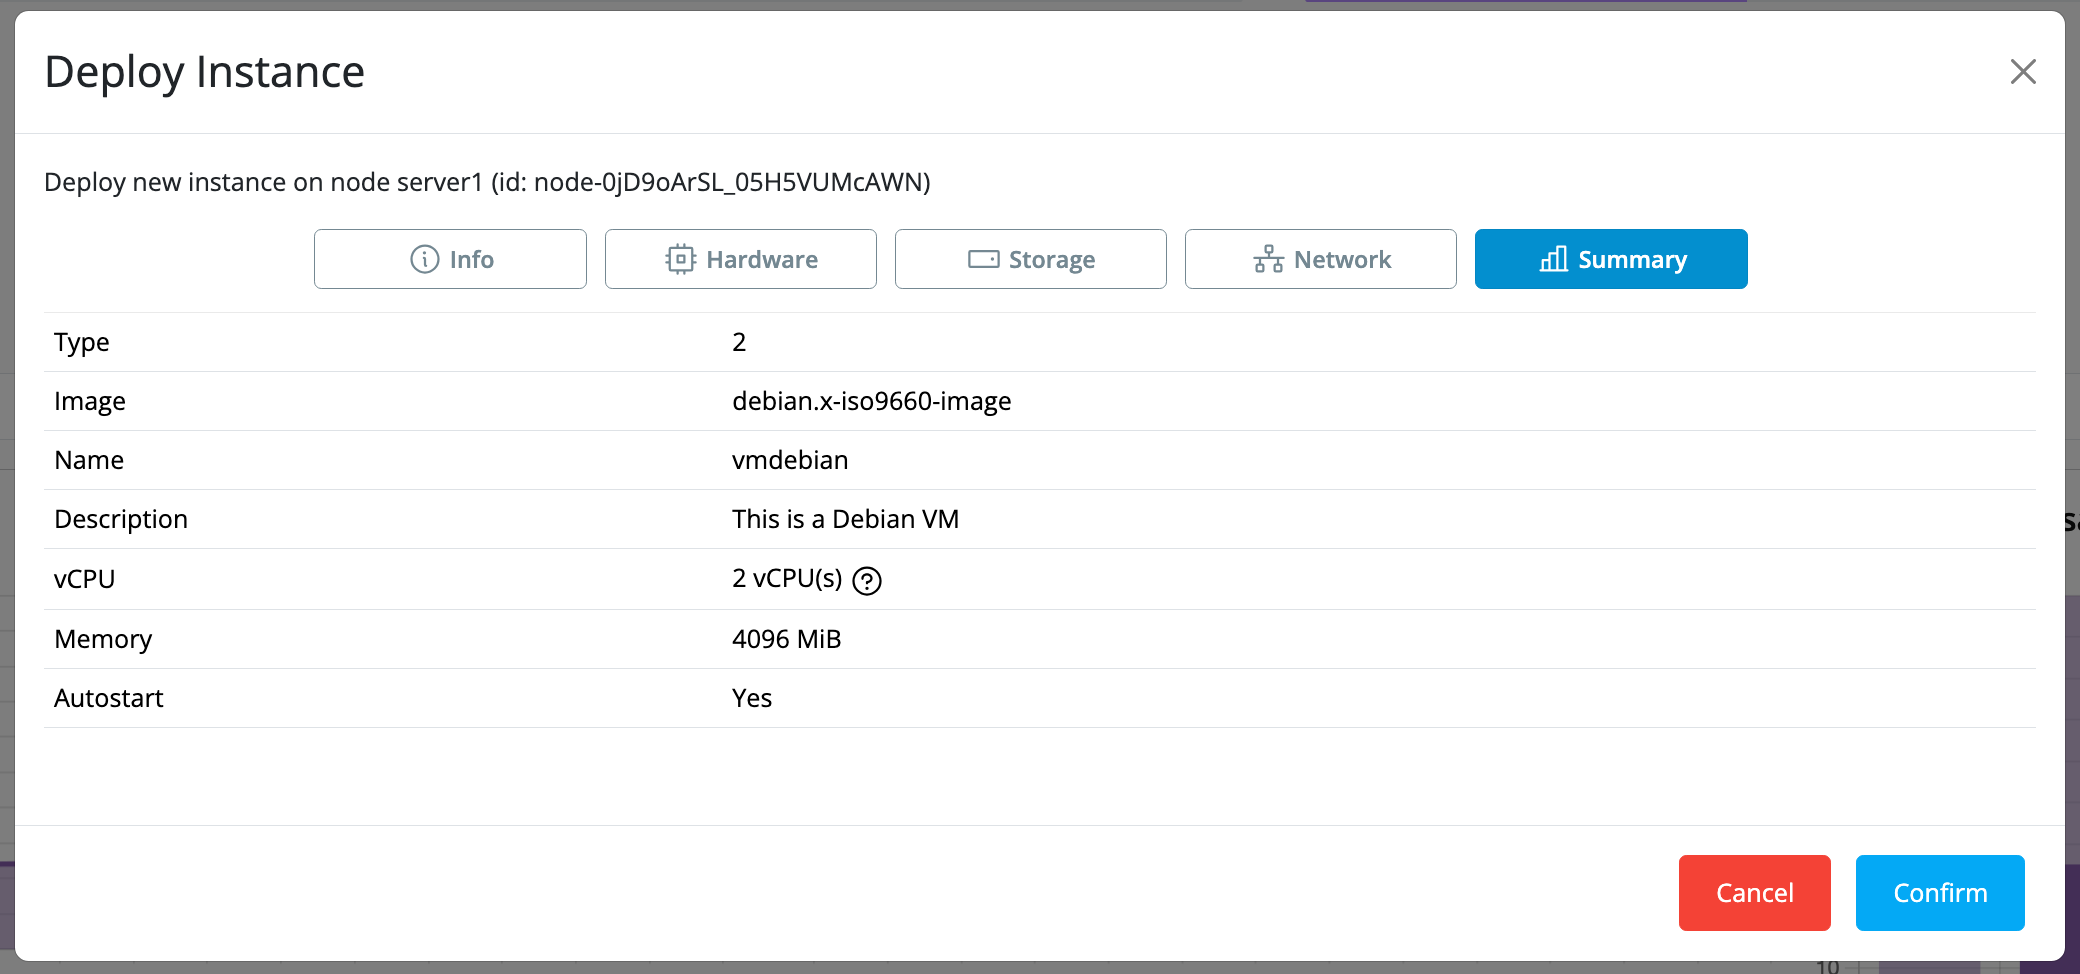
- Summary and Review: Review the instance details and click Confirm to proceed.
4. Manage the Virtual Machine
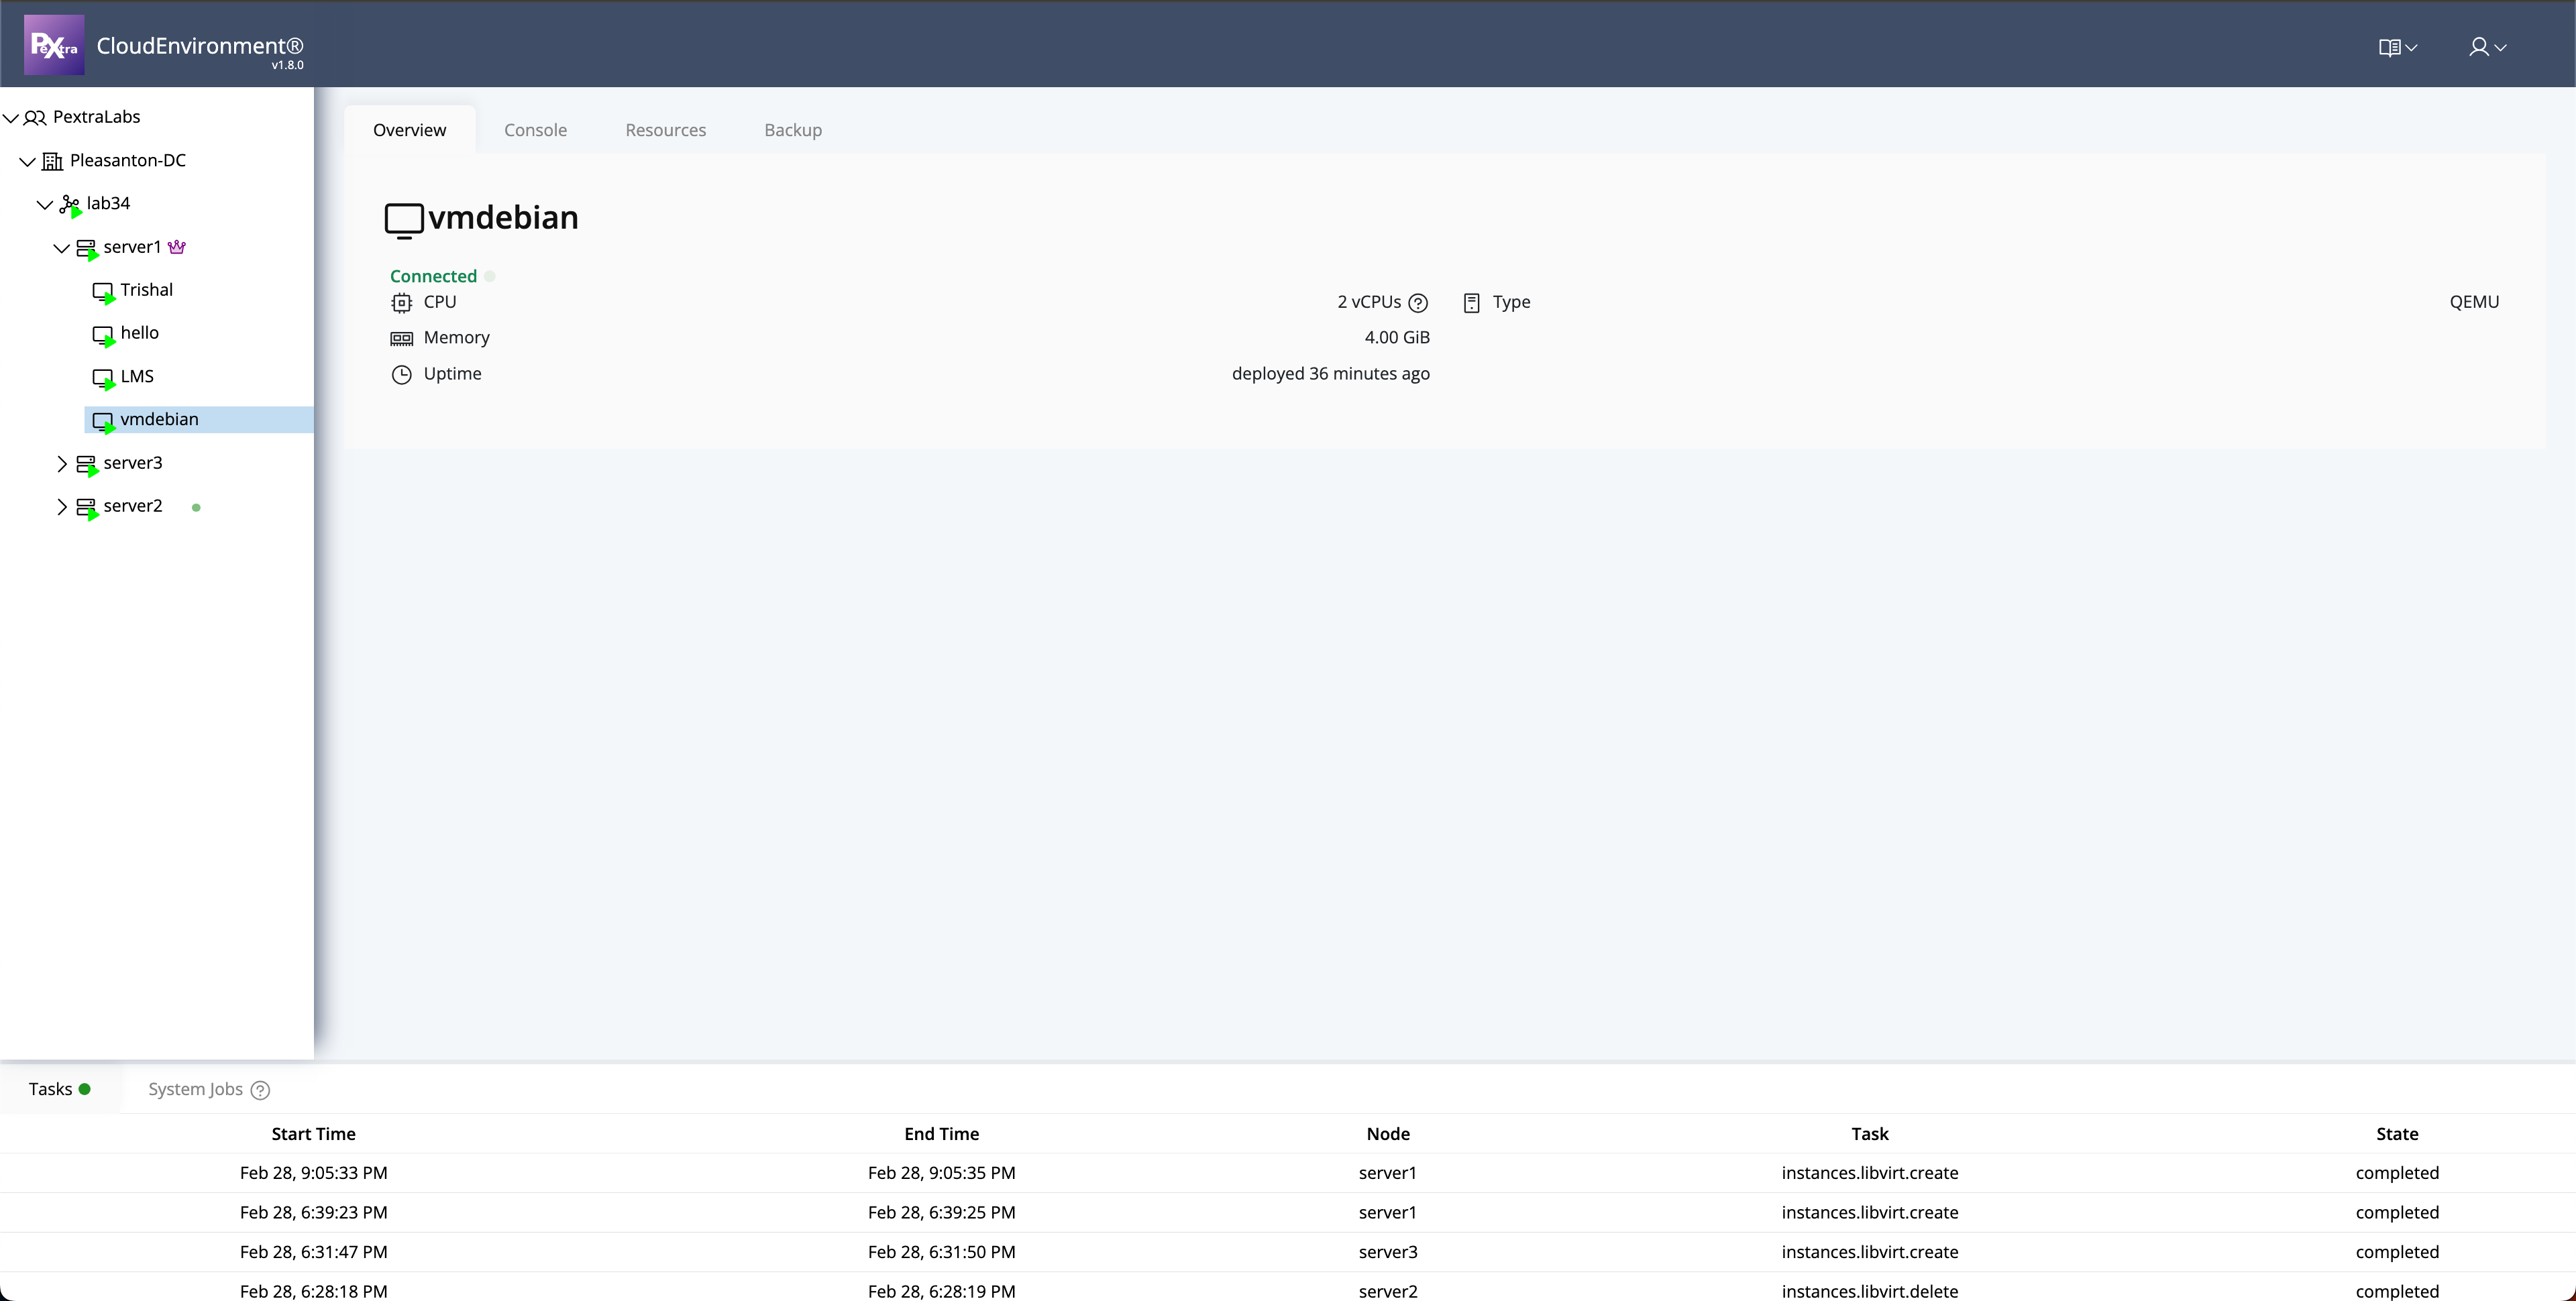
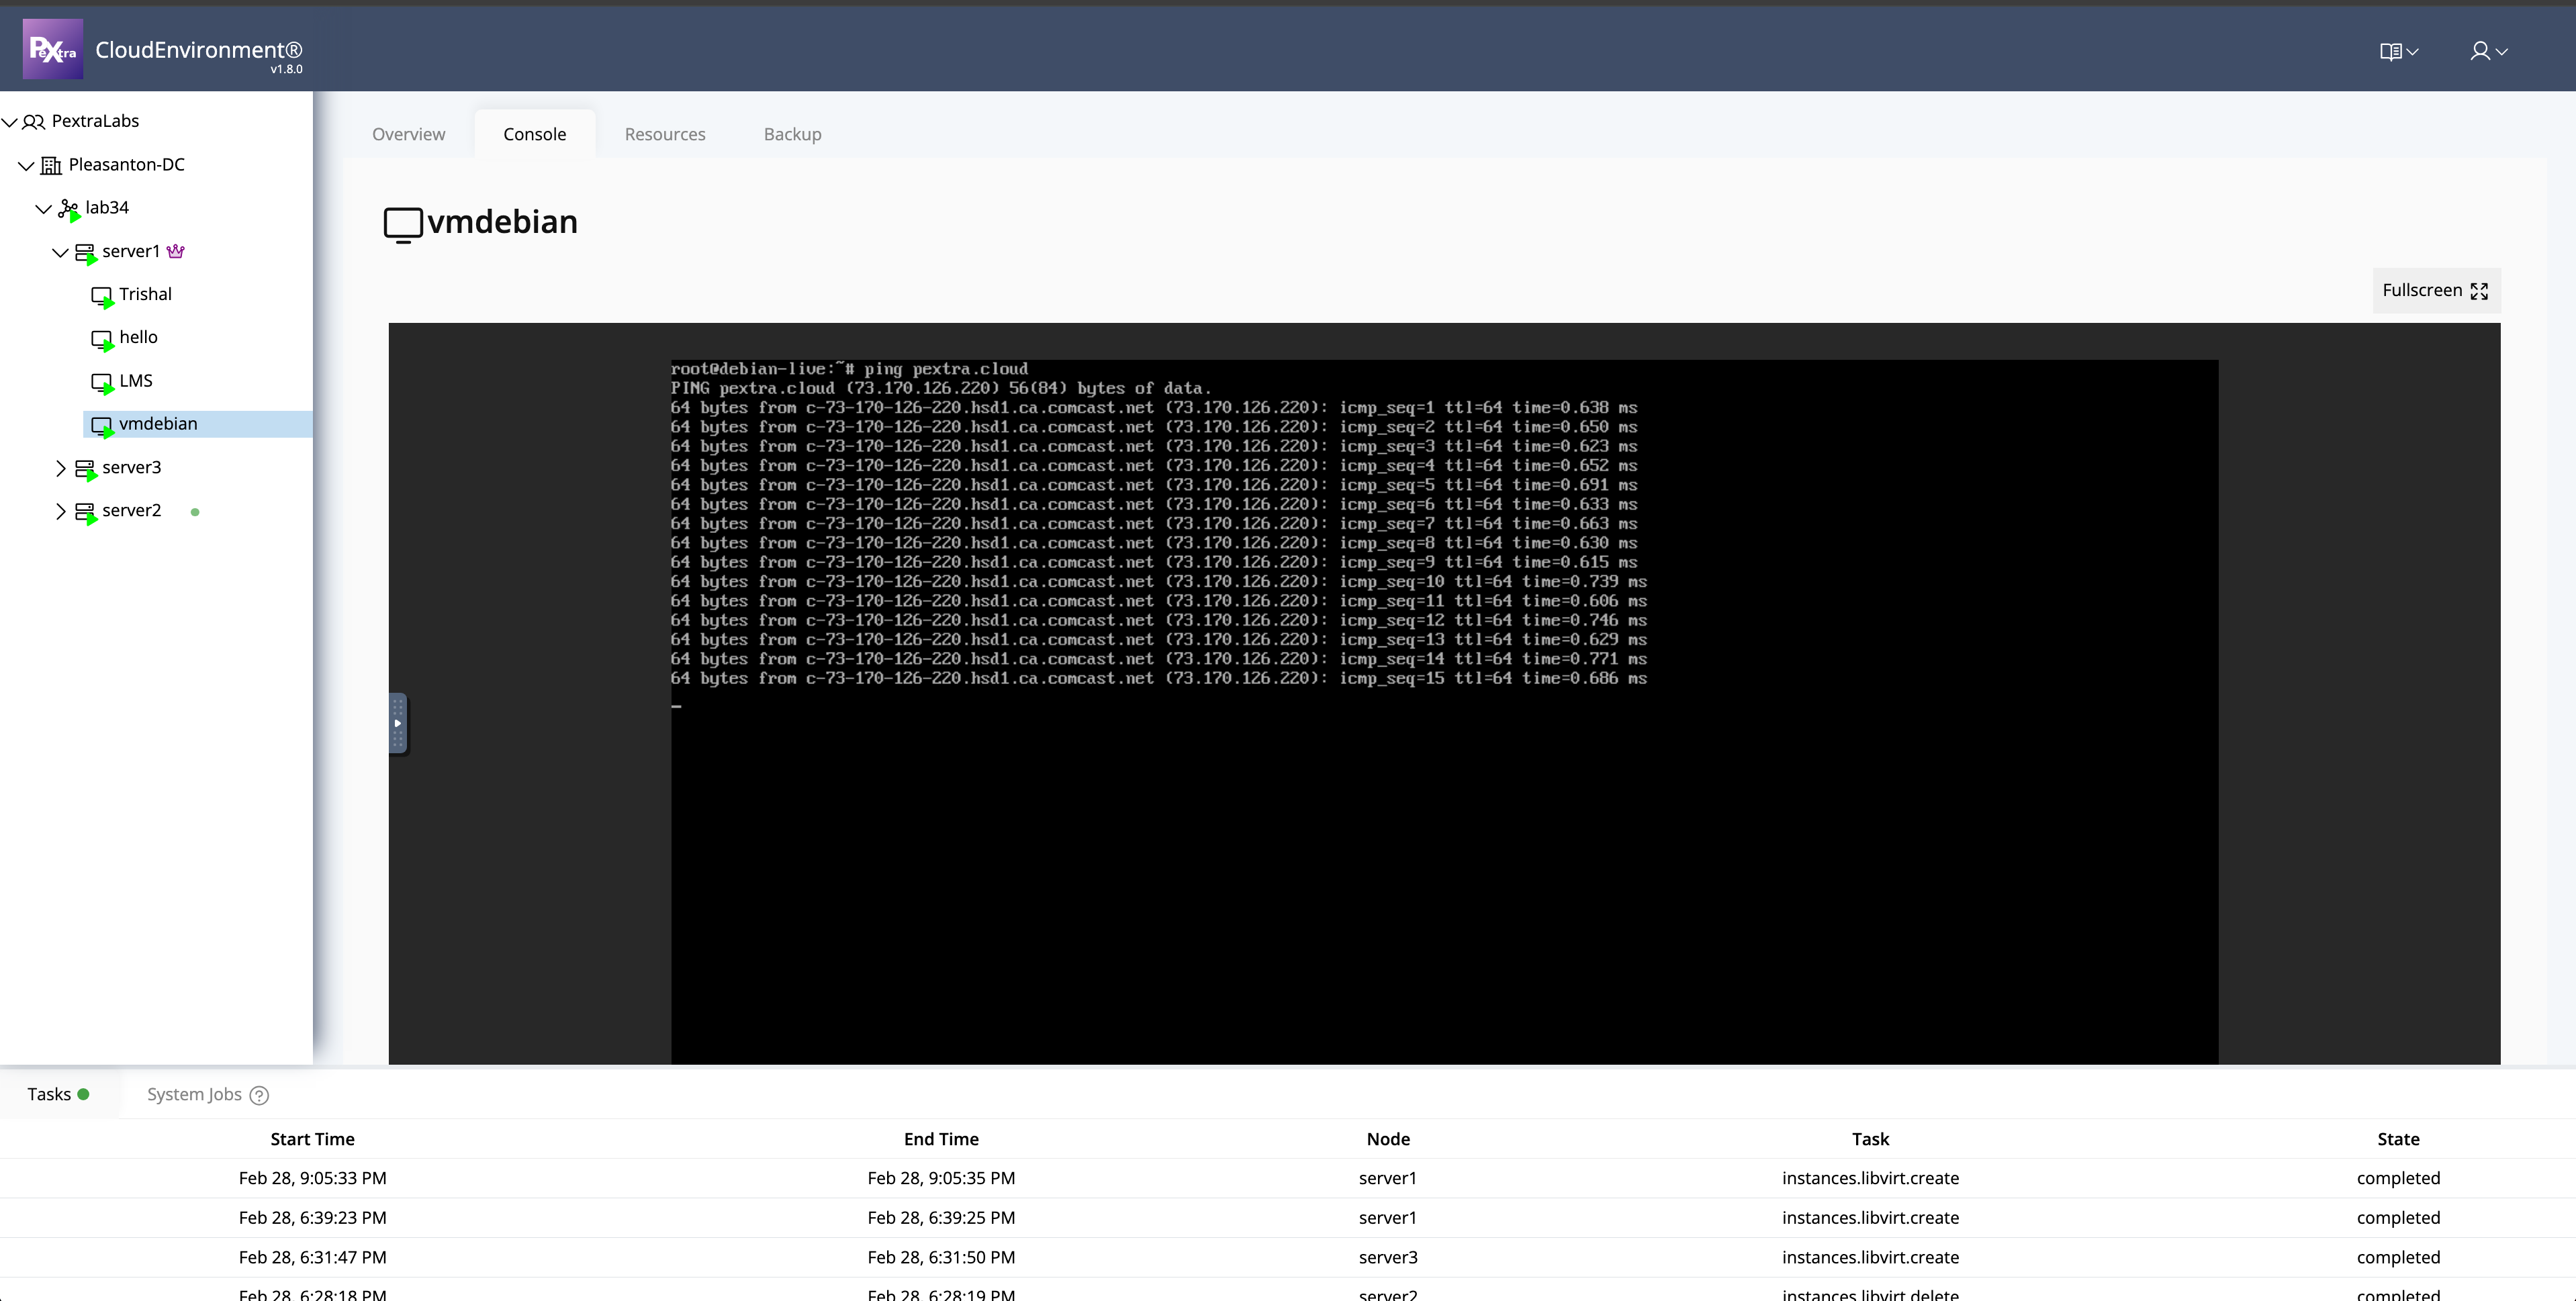
- Console Access: Click on the Console tab to access the VM directly via the prompt. You can test connectivity, such as by running a ping command.
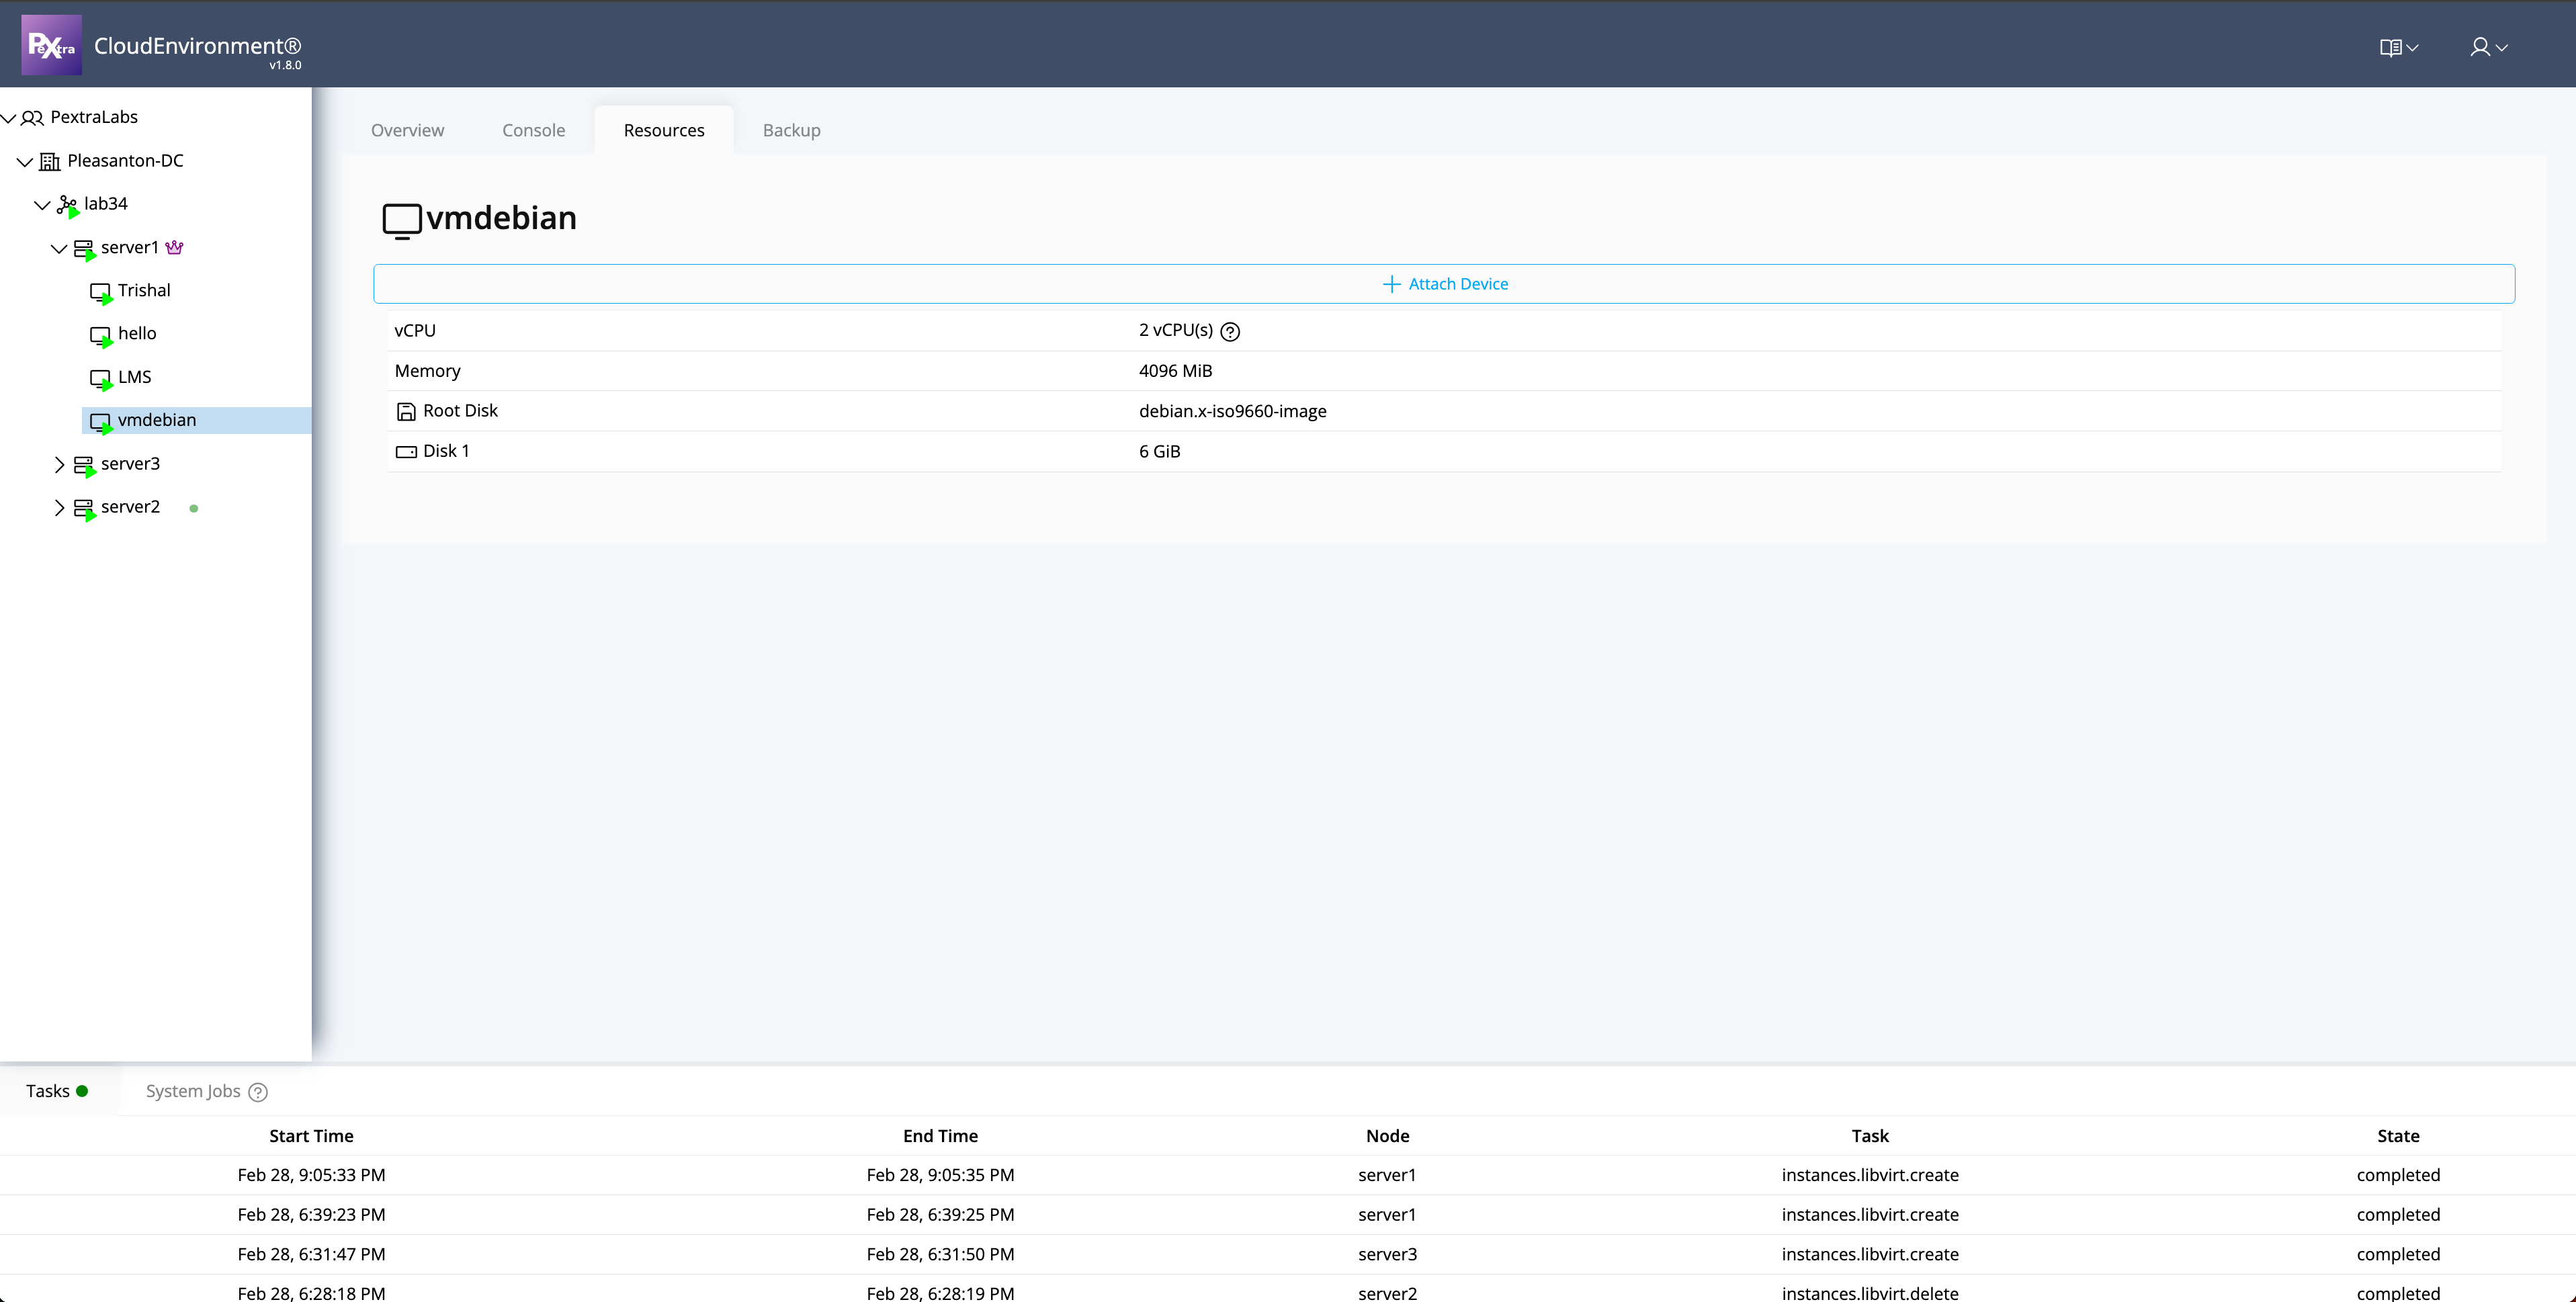
- PCI Passthrough: Click on the Resources tab to attach devices (e.g., GPUs, USB drives, PCI devices) for passthrough to the VM.
