Editing a vSwitch to Add Uplinks
You can add one or more uplinks to a vSwitch to connect it to physical network interfaces on a node. Adding multiple uplinks improves redundancy and fault tolerance, ensuring higher network availability.
Steps to Add Uplinks
-
Select the node in the left navigation panel.
-
Click the Network tab on the right.
-
Click on vSwitches.
-
Locate the vSwitch you want to modify and click the Edit icon.

-
From the Uplinks drop-down menu, select one or more network interfaces to attach as uplinks.
You can select multiple interfaces to enable redundancy.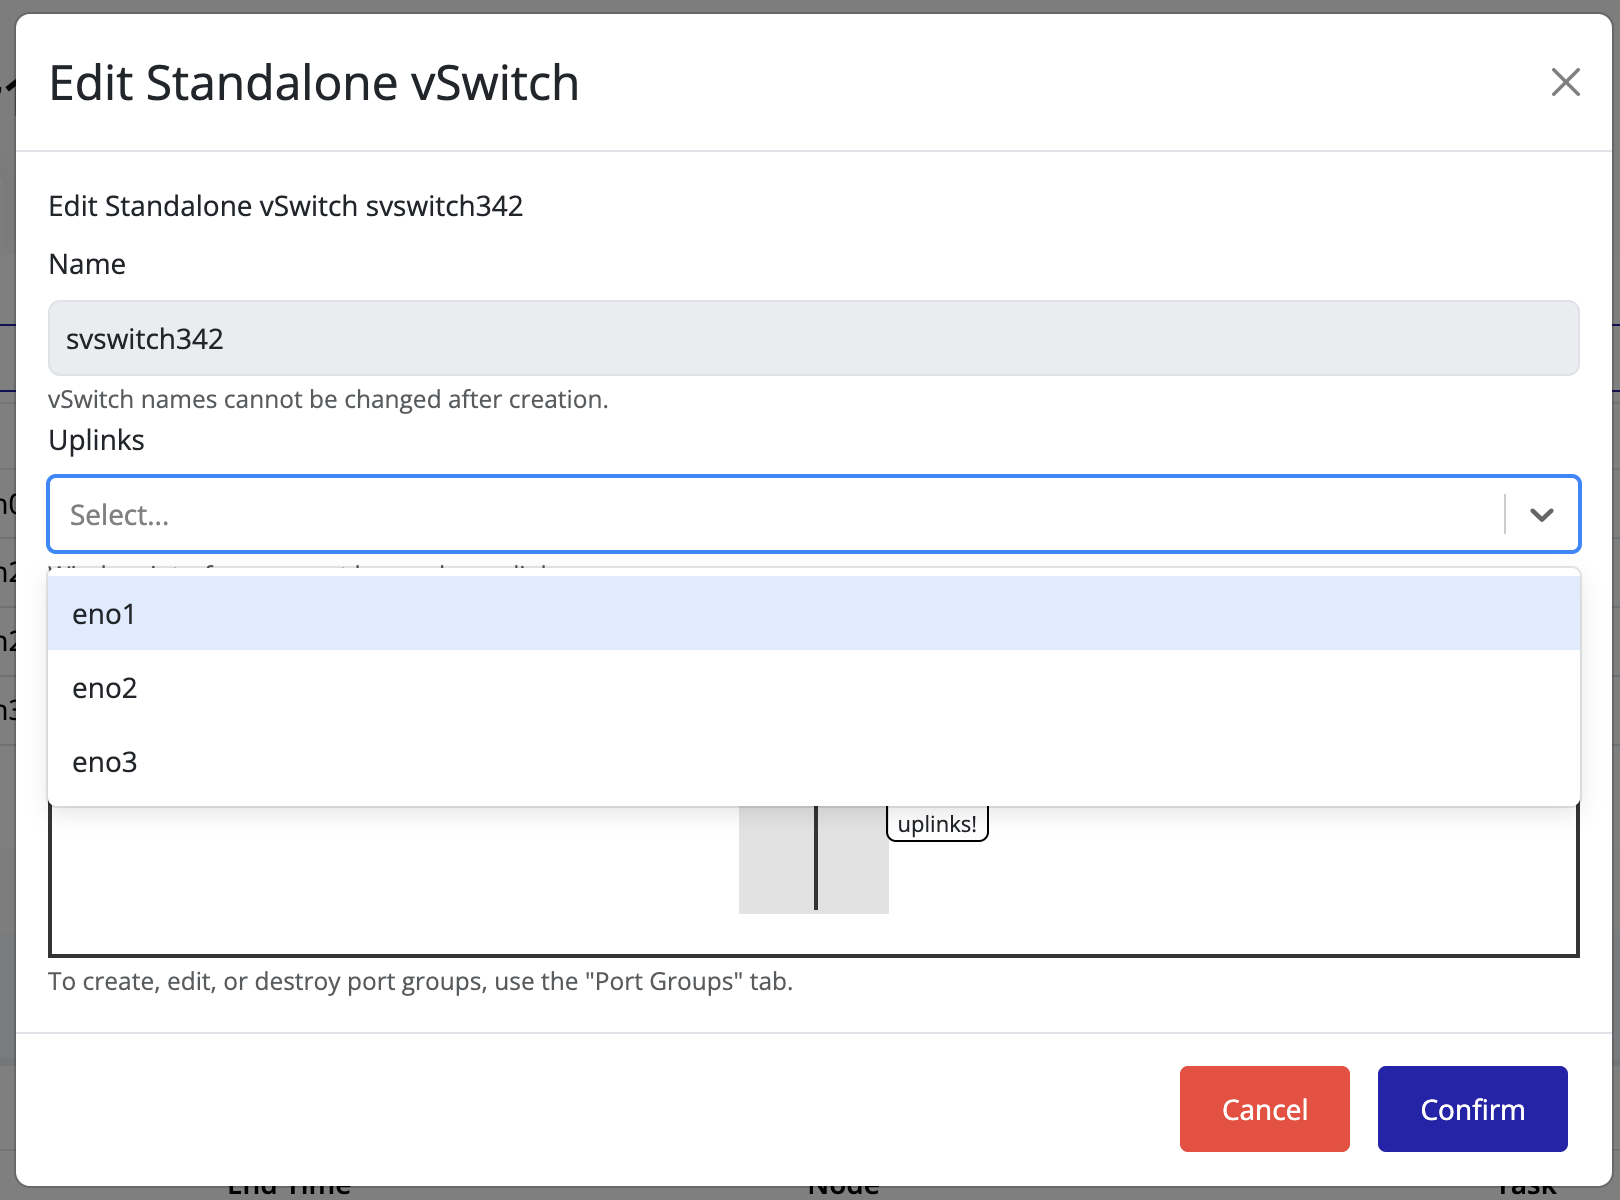
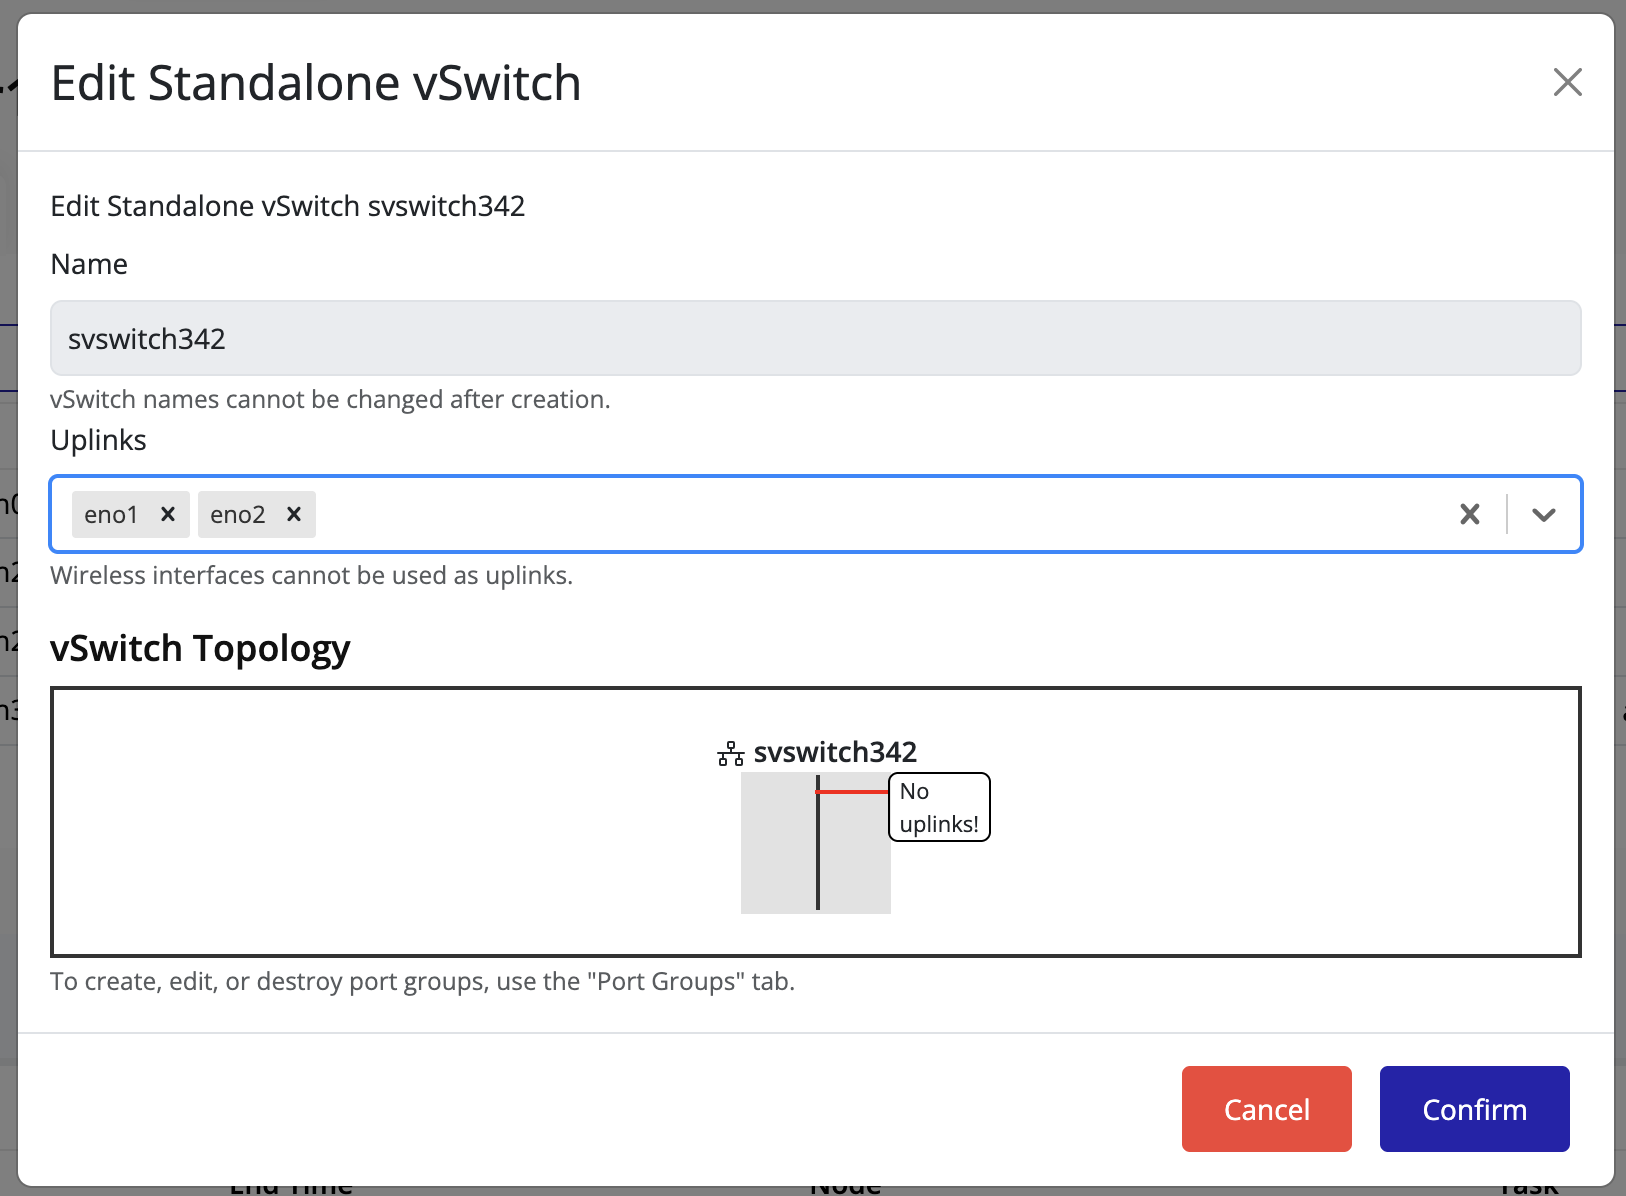
Tip
The image preview may not immediately reflect uplink changes.
-
Click Confirm to apply the changes.
-
The Uplink Count column for the vSwitch updates to reflect the new configuration.

-
To verify or visualize the connected uplinks, click the Edit icon again.
The connected uplinks are listed in the vSwitch details view.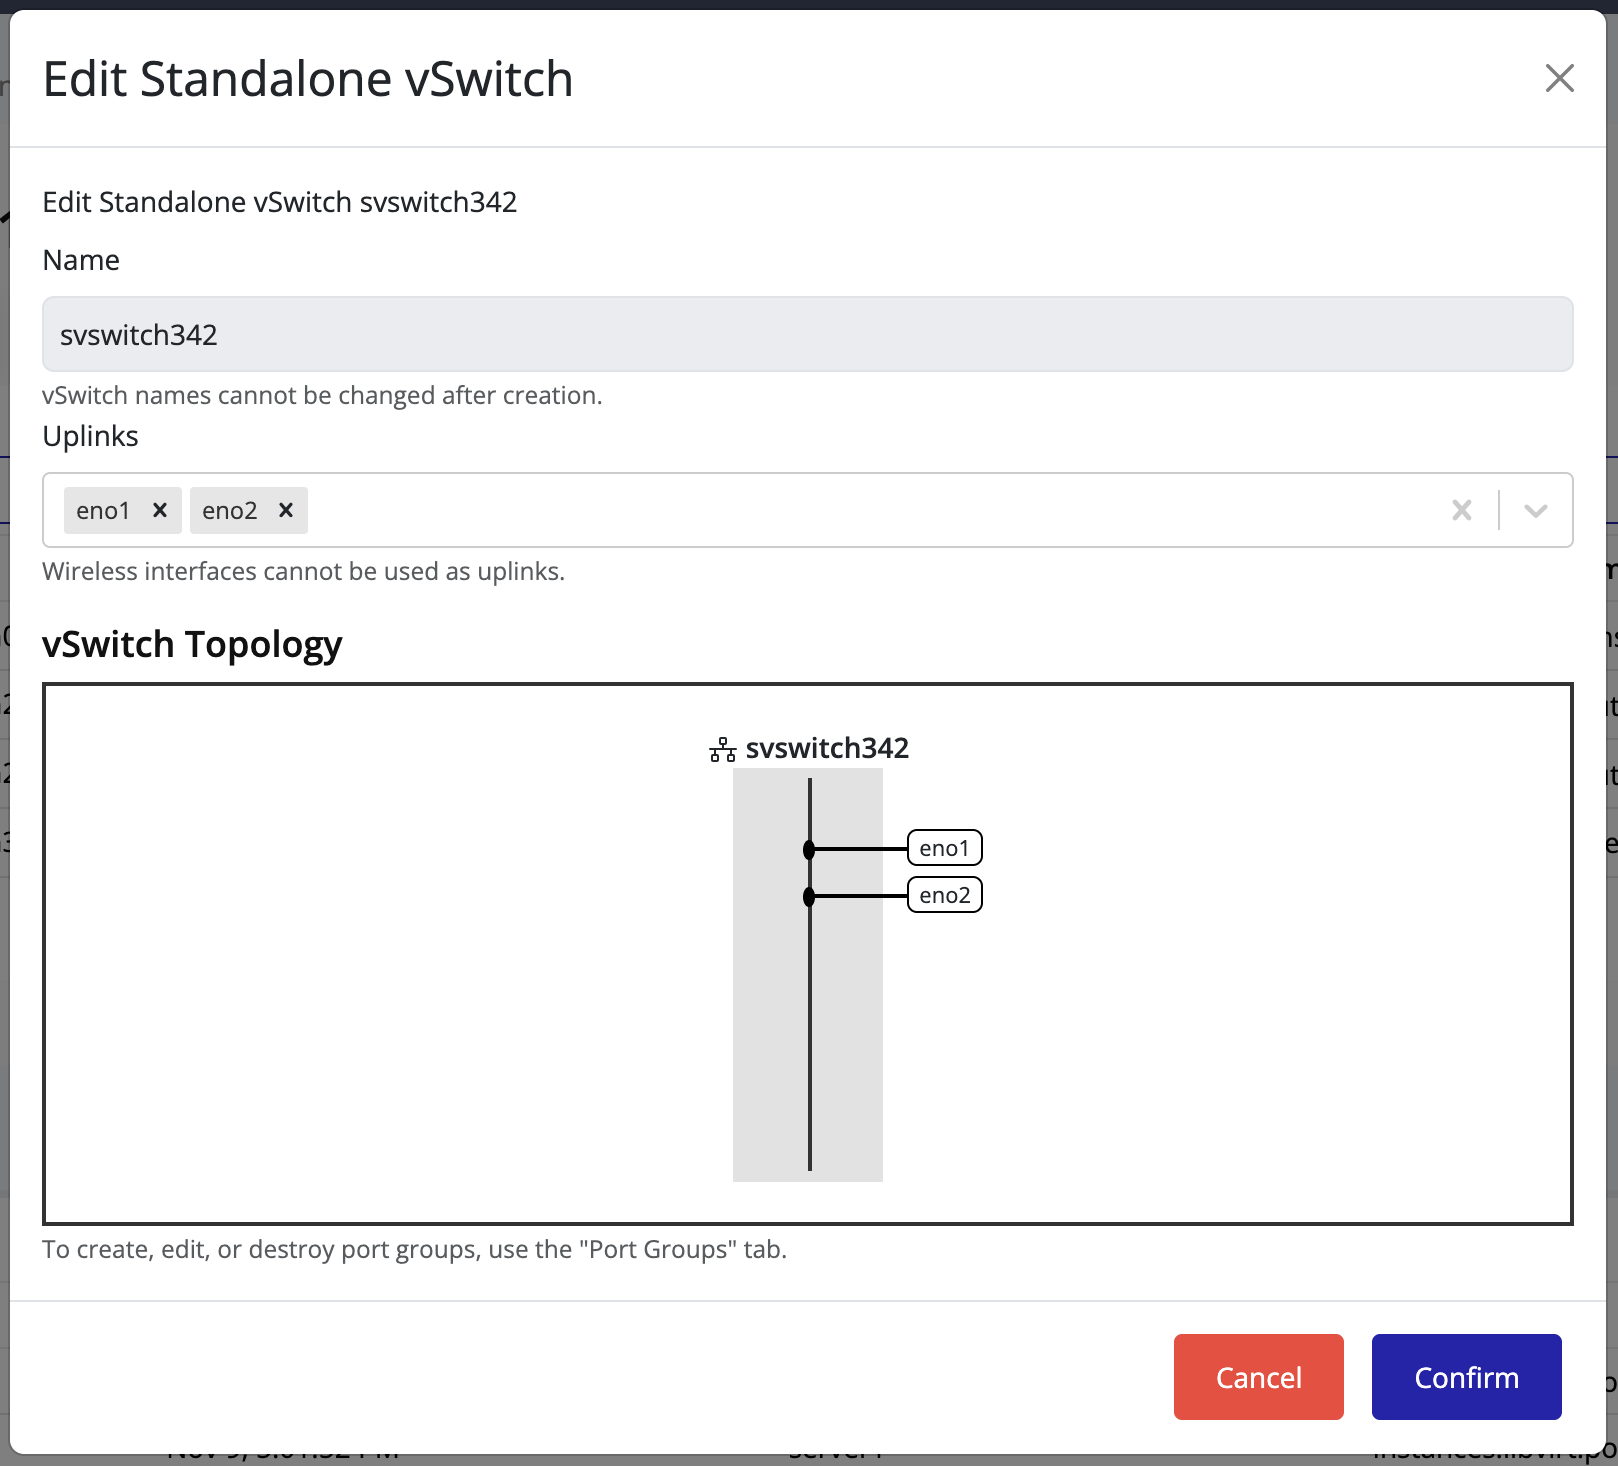
Tip
Adding multiple uplinks provides network redundancy.
If one uplink fails, the remaining uplinks continue handling network traffic seamlessly.